Tiki Central / Other Crafts / Wendy Cevola - New colors of the Frank mug by Frankoma now available.
Post #793553 by danlovestikis on Sun, Mar 3, 2019 7:55 PM
|
D

danlovestikis
Posted
posted
on
Sun, Mar 3, 2019 7:55 PM
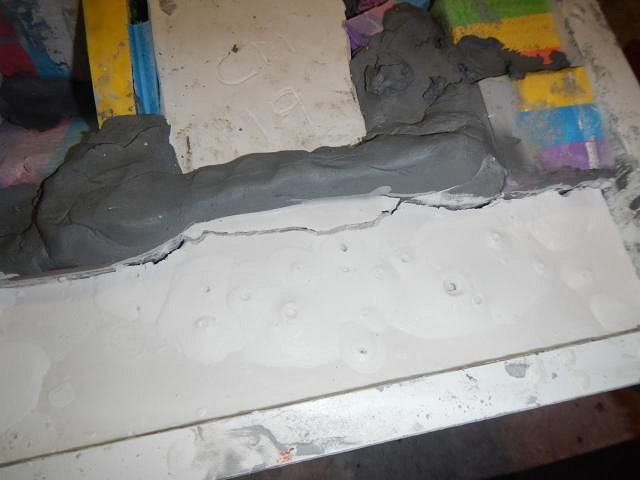
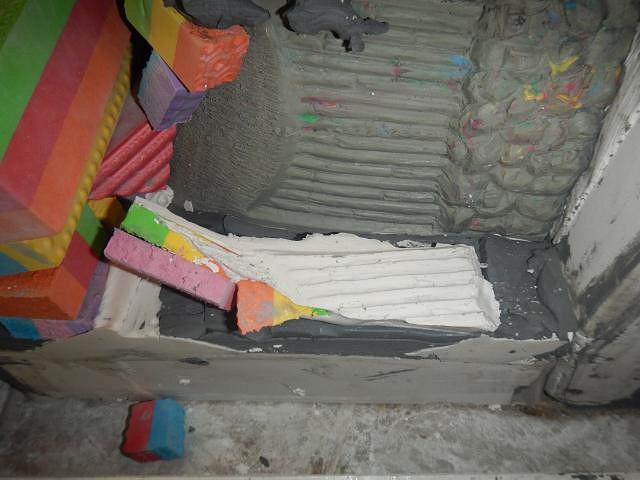
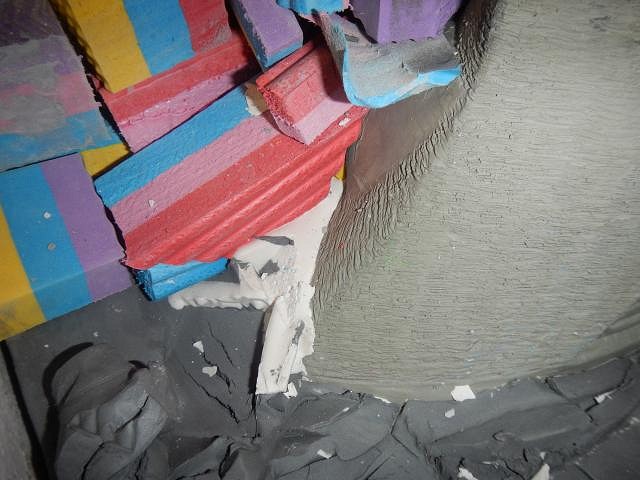
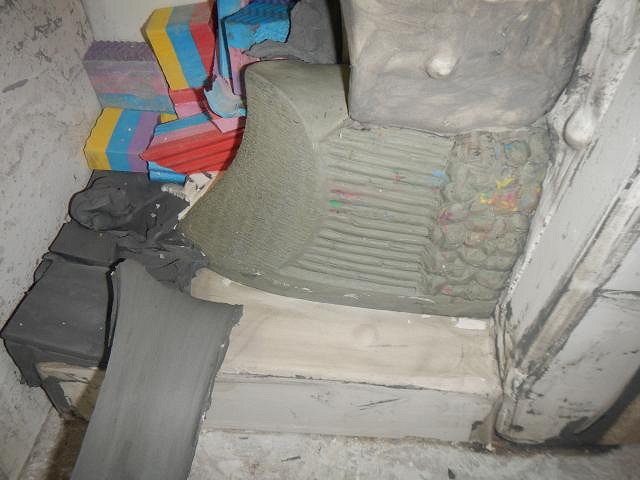
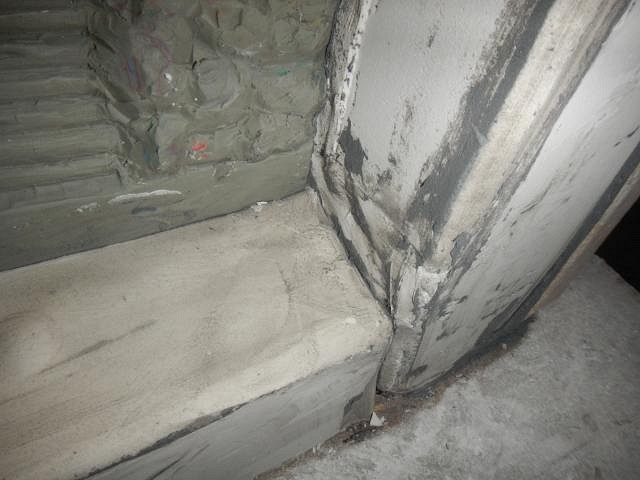
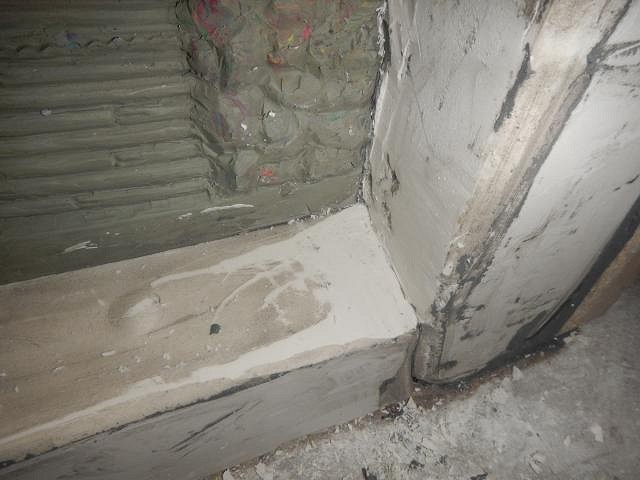
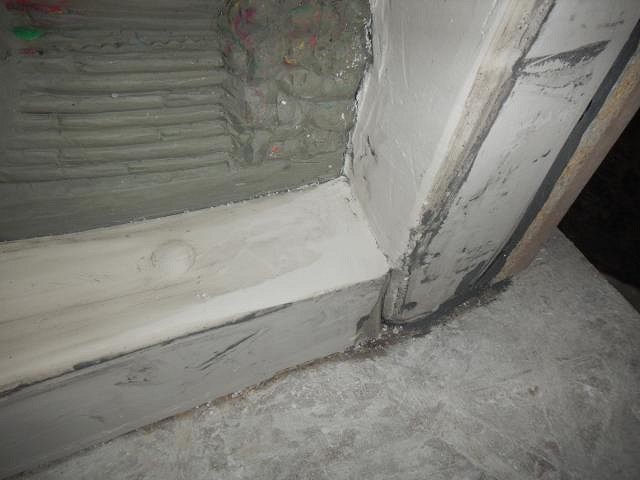
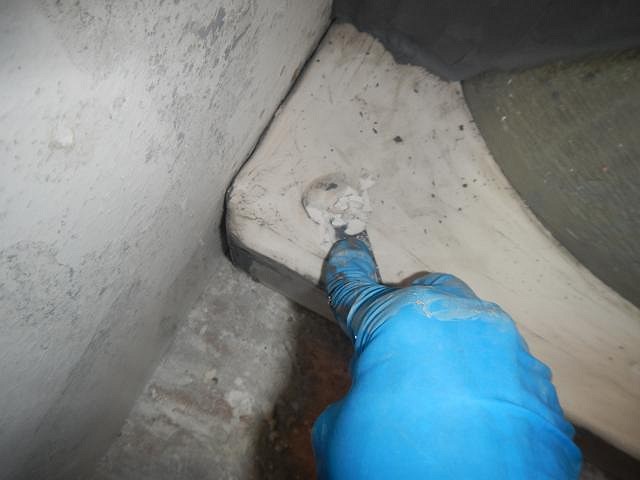
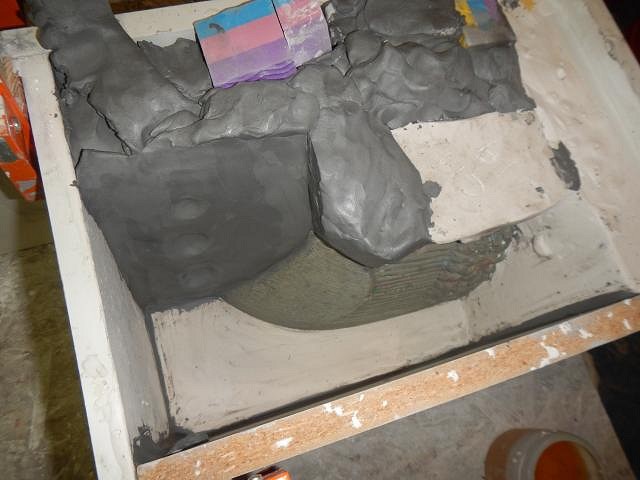
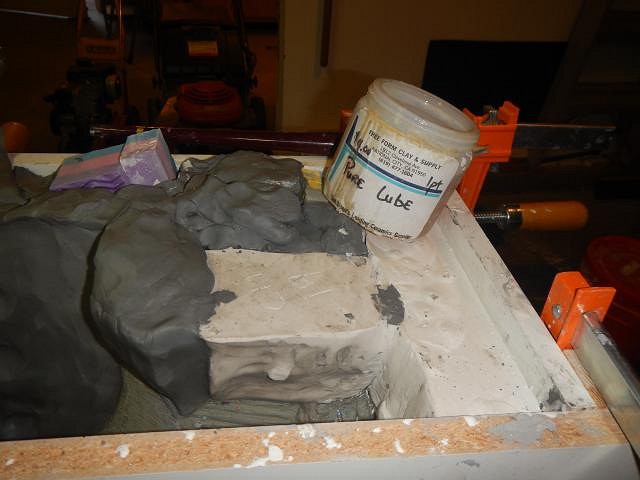
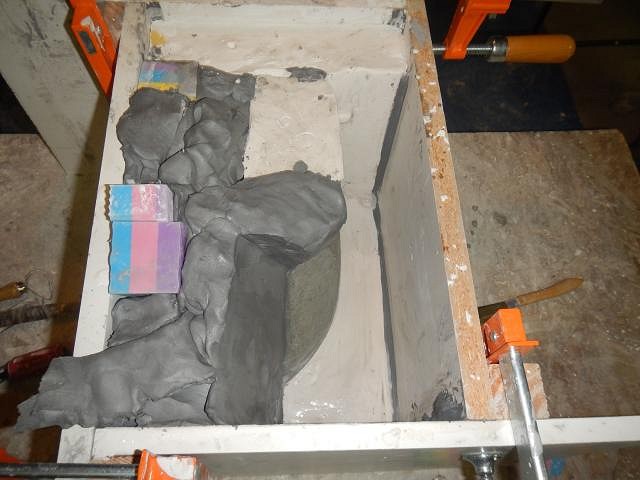
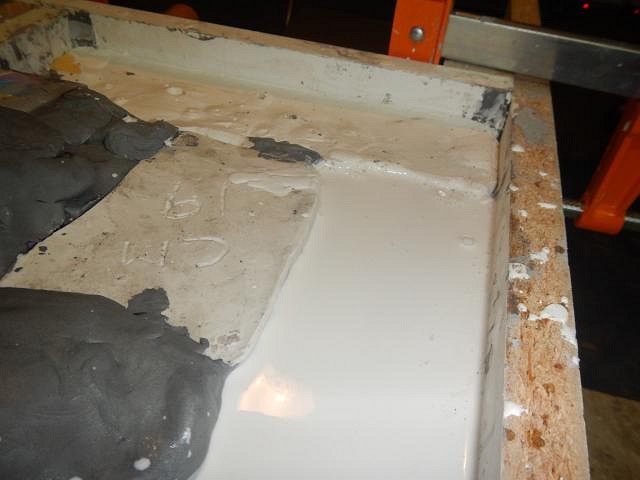
hang10tiki he wakes up when I tell him to get mixing! Hamo now that's a lot of snow. You look frozen. What a fun growth you have there. =============================== SACRAMENTO CRAWL MUG for 2019 step by steps for the mold. When the plaster set for mold piece number three it had some cracking at the top. I just trimmed this off. Nothing to worry about. To prepare for the mold piece number four I took off one side of the mold box. I removed the blocks and cleaned up the plaster from the leak. It went into so many pieces it had fun just running free. In this photo I'm cleaning off the clay so that the next plaster mold piece will touch the others. You can see a very grey mold piece at the top. I looked at the contact area between two of the mold pieces and decided that this would be an area where the mold would leak unless I can tighten it up. To do this I get out a chisel and I make the right angle perfect. This is how good it should look when finished. Then the next mold piece will fill this in and it will be tight. I decided that the locks I put on this mold piece would prevent me from pulling it away from the cast. So I chiseled them off. I built the clay wall where I needed this mold piece to end. I also made a glob of clay where the opening into the mold will go. I did the three layers of mold soap and then I checked it over carefully to make sure all the box seams had clay snakes to prevent leaks. Good to go so we mixed and poured in the plaster. One piece left to go. I bet you can see why no one likes to make molds. Notch did one sculpt that required 32 mold pieces. It was a masterpiece, both the art and the mold. Cheers, Wendy |