Tiki Central / Home Tiki Bars / Bula Bula Bar
Post #744951 by Scaramouch on Mon, Jun 15, 2015 8:49 PM
|
S

Scaramouch
Posted
posted
on
Mon, Jun 15, 2015 8:49 PM
I wanted to share a start-to-finish tiki bar build I did over the last few weeks. I have been inspired by all the amazing work on this thread, and a lot of it contributed to my own build, so I only thought it fair to share. Having said that, this is a WAY smaller build than most of you have been posting, it's just a stand alone wet bar on a deck. My wife and I decided it would be nice to have a tiki bar on the deck to entertain over the summer, so I gave myself eight weeks to build one from scratch, and that's really just at weekends. It had to be small and portable so as not to take over the entire deck, but also very functional as an actual working bar, because we plan to have parties with many rum cocktails :) Couple of things to note. I am NOT a handyman in any real shape or form, I work a desk job in NYC, and have never done more than general house maintenance before. This is the first (and probably last) piece of furniture I'll ever build. Also, I just kind of made it up as I went along. I bought tools specifically to do this (wonderful excuse) so this project is the first time I ever used a router, or a nail gun, or a circular saw or... you get the picture. But hey, if I can do this in eight weeks of weekends, then anyone can, so if you've been thinking of a tiki build, just jump in and get it done :) Here we go...
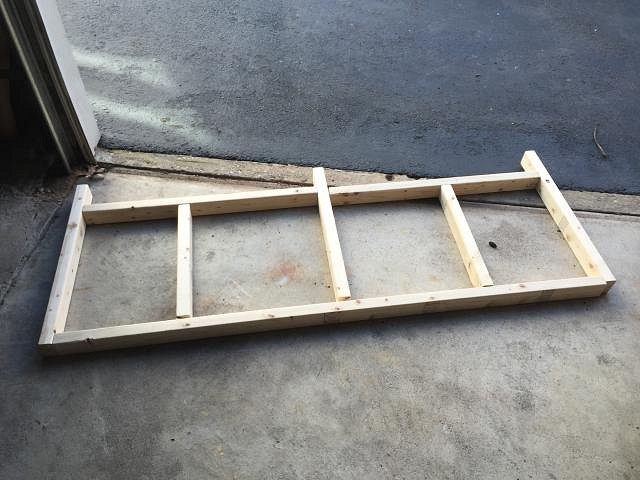
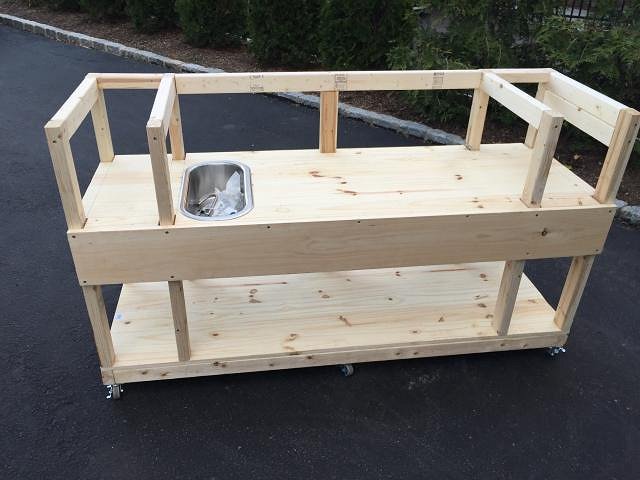
Framing out. I had made a plan on paper, but also a lot of this was figured out on the fly. The basic frame is cheap 2x3 timber.
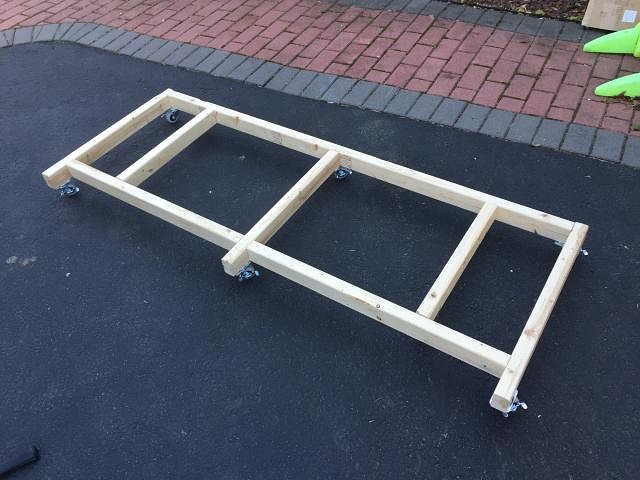
I put it on wheels as I'm building it in my garage and will eventually put it up on the deck so this seemed like the easiest option to move it.
Upside down, building the skeleton. It's all nails and glue here.
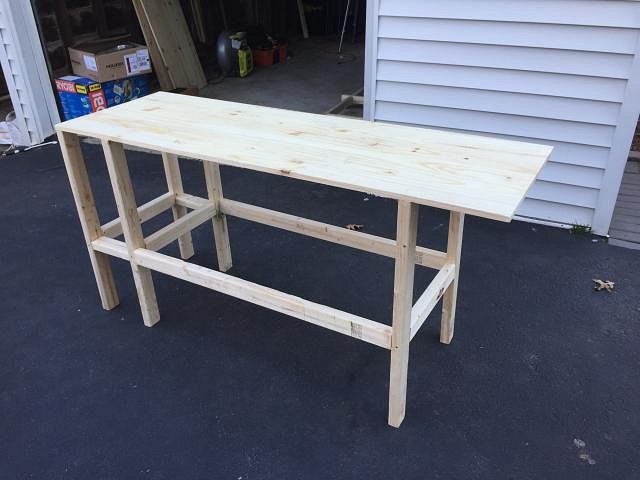
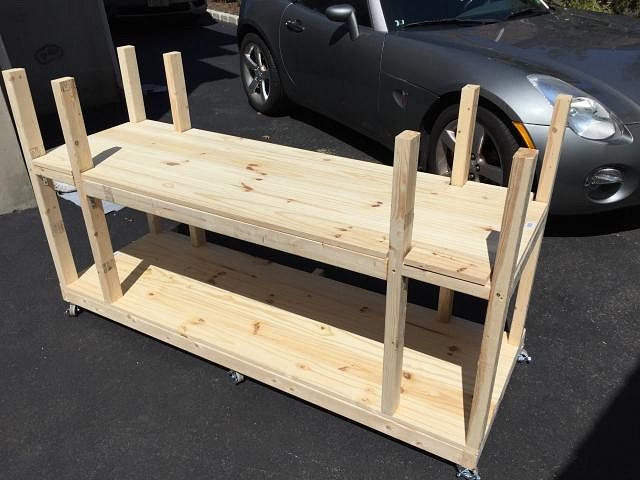
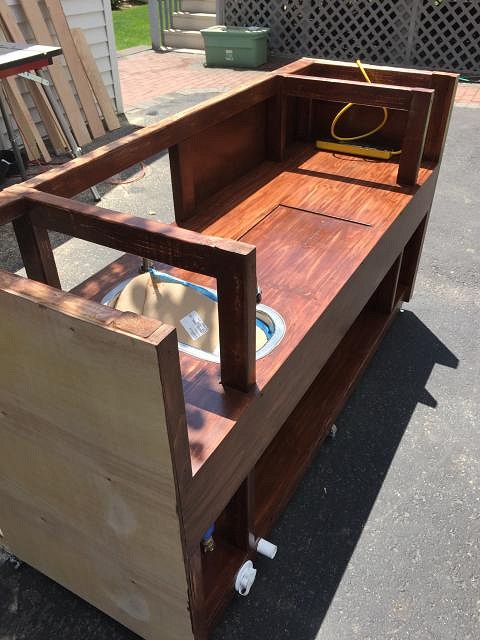
Right side up, and it's beginning to look like a bar.
I added a sink even though it will never be permanently plumbed in, if only to act as a built-in ice bucket.
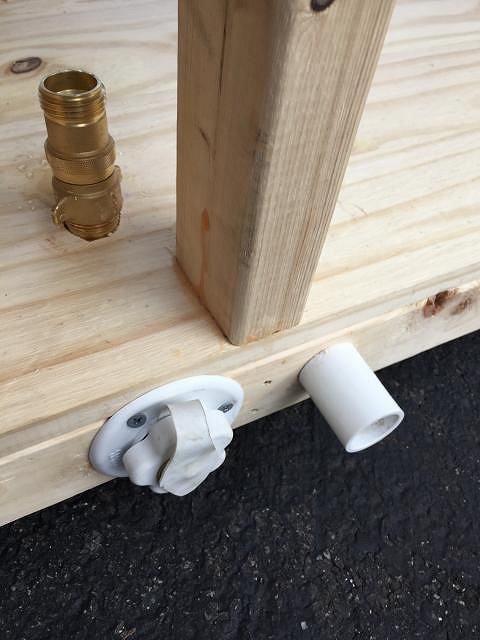
Water comes in via an RV socket and water-grade hose, sink comes out via a PVC pipe and drains off the side of the deck via an extension tube.
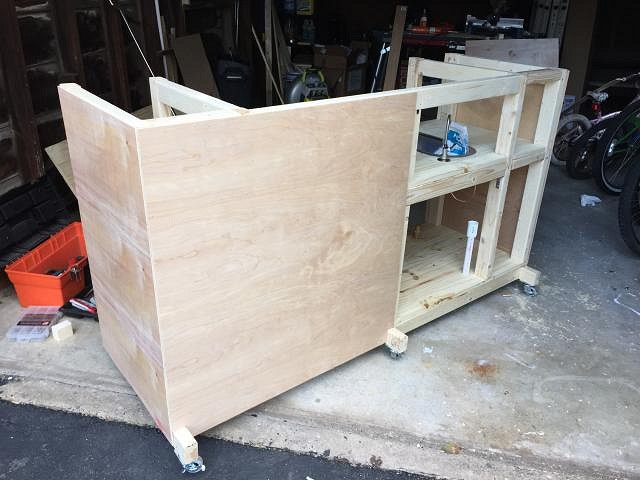
Cladding the bar, and i'm still using cheap wood wherever possible.
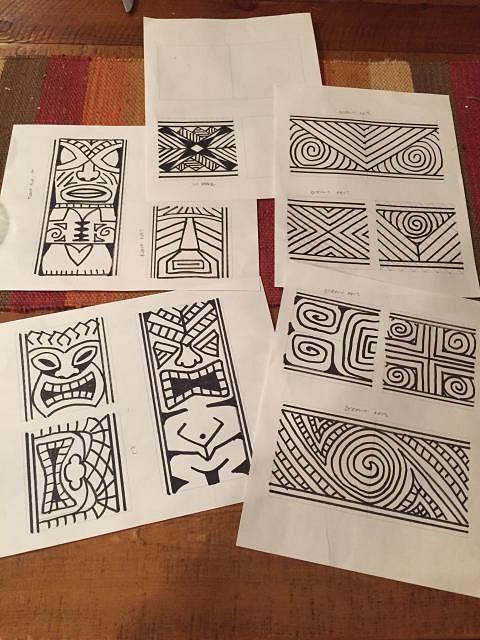
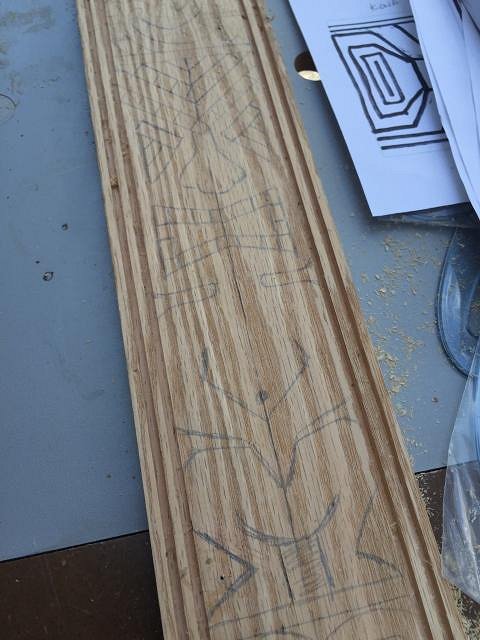
Time to start thinking about carving. I sketched these out drawing inspiration from across the web, threads here, and photos I've taken at the Mai Kai and various other bars.
Sketching patterns onto wood prior to using my router.
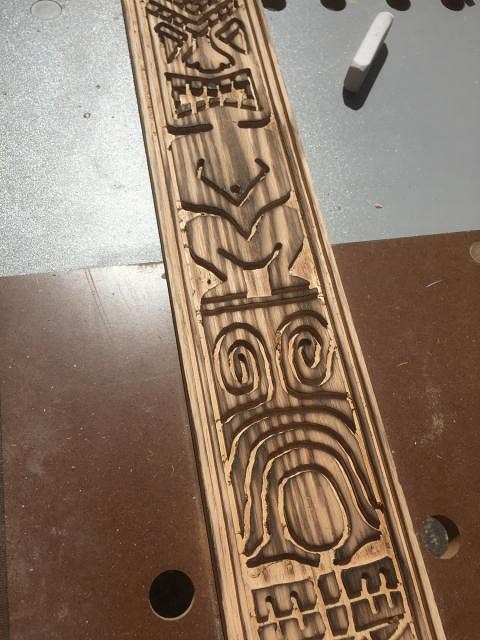
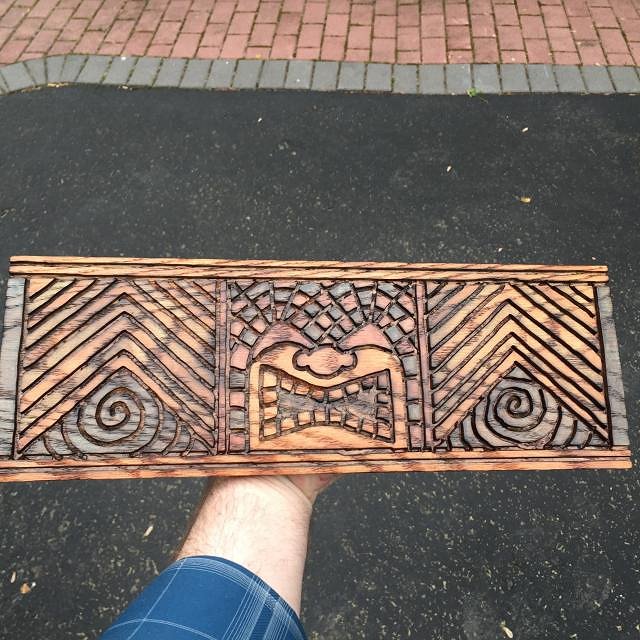
And here's my first attempt. This is routed using a small bit and a very small router (like a trim router). Then I sanded the surface and burned using a propane kitchen torch to bring out the grain and smooth off the edges.
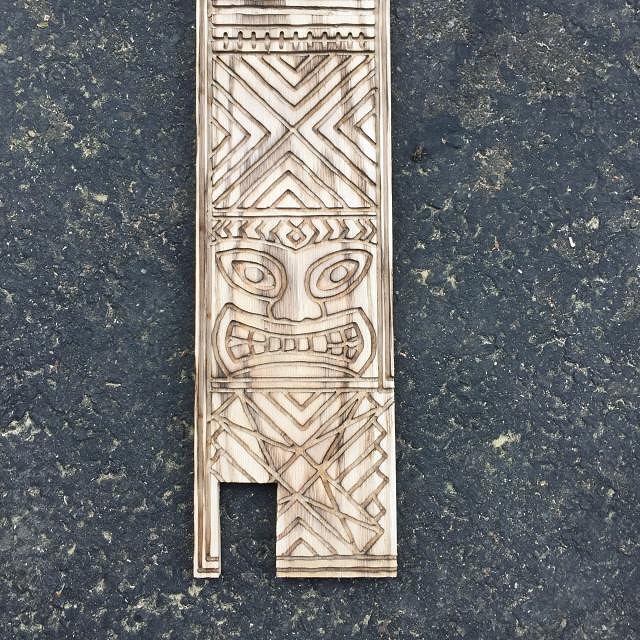
More carving. I'm going for a Trader Vics meets Trader Sam's vibe as I have four kids and I want them to see the fun side of tiki too :)
A friendly Ku.
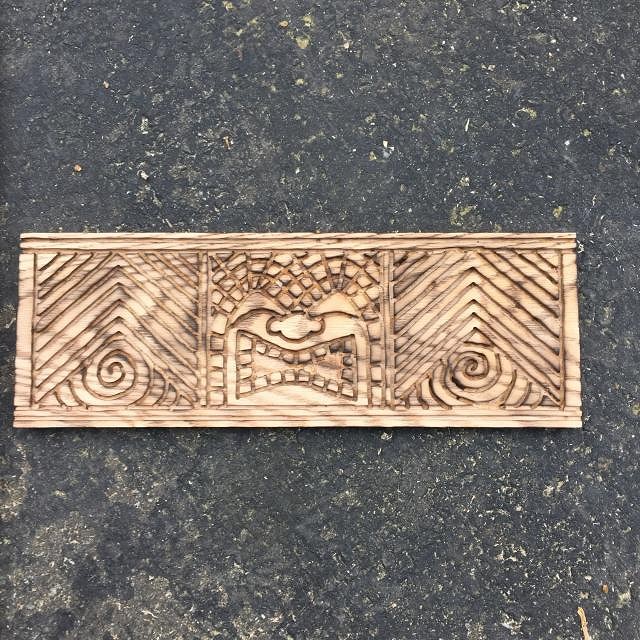
And here's the same thing stained. It's a combination of translucent wood stains, and a polyurethane with a golden stain in.
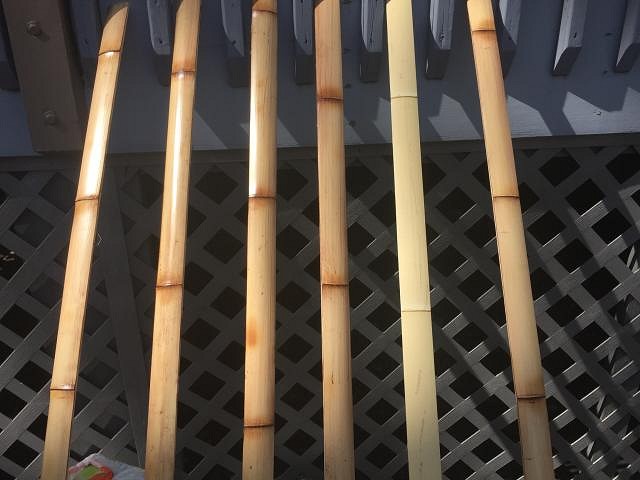
At this point I'm also working on bamboo slats. One of these is the bare version, which I then burnt, stained, and poly-stained.
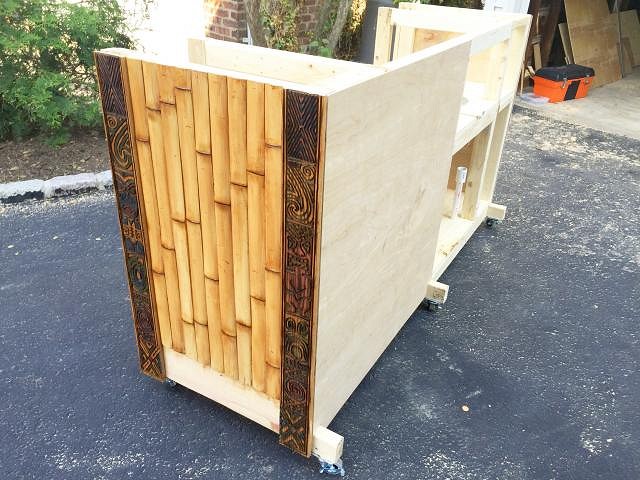
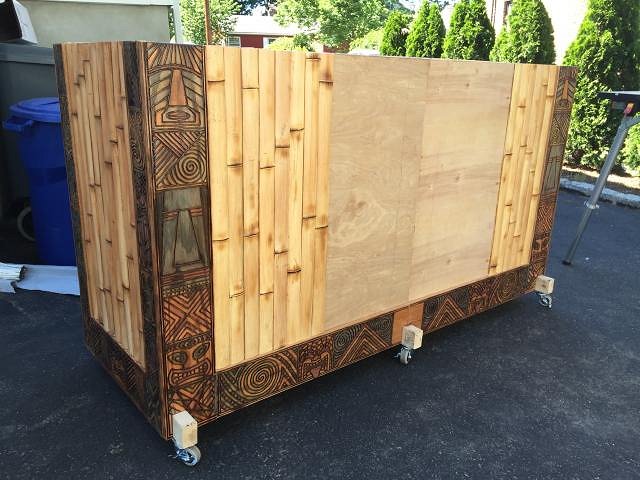
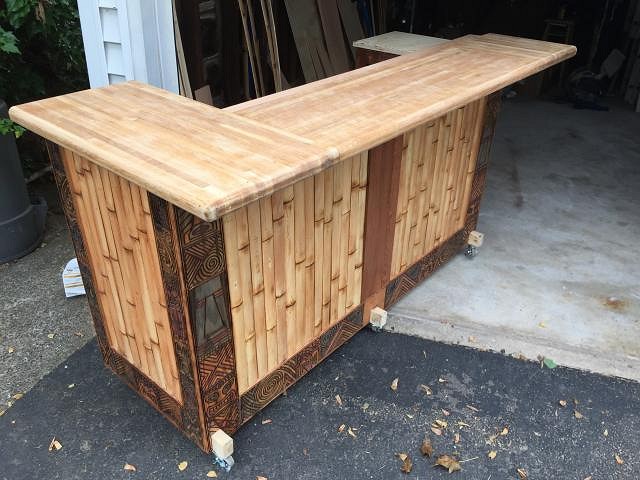
Time to start cladding.
You can see I decided on dark carving trim, contrasted with a light bamboo. As it'll be on a bright deck, I wanted a darker color than I would have chosen if I were in a dimly lit basement.
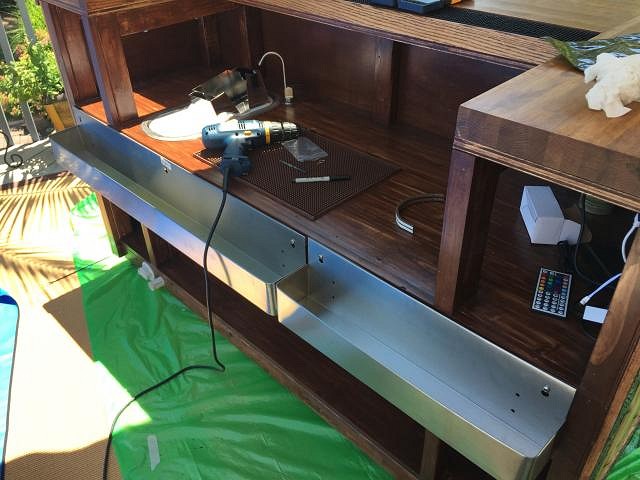
At this point, I'd also stained and poly'd the interior. That's just cheap pine, so I knew it was never going to look great. But it's functional, and you can see I routed out a space for a bar mat, and added electricals.
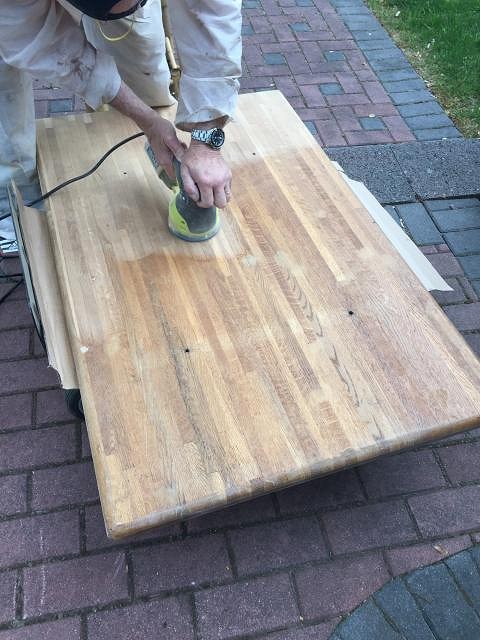
Time to work on the bar surface. When we moved into our house, I found this old tabletop hidden in the garage, so decided to recycle.
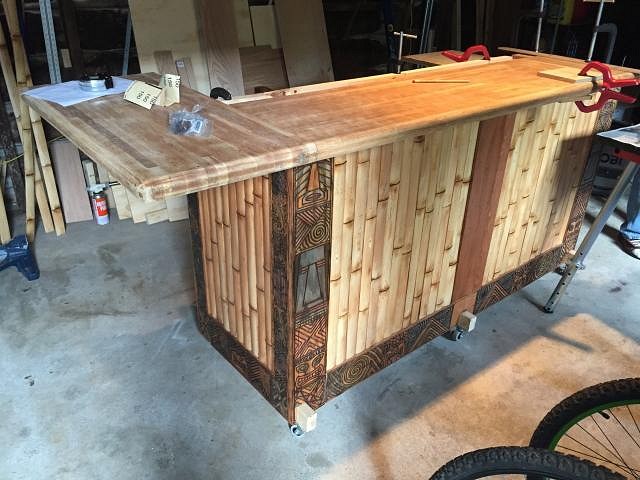
Starting to build up the top. This is off center, so the overhang will not be as great in the final version.
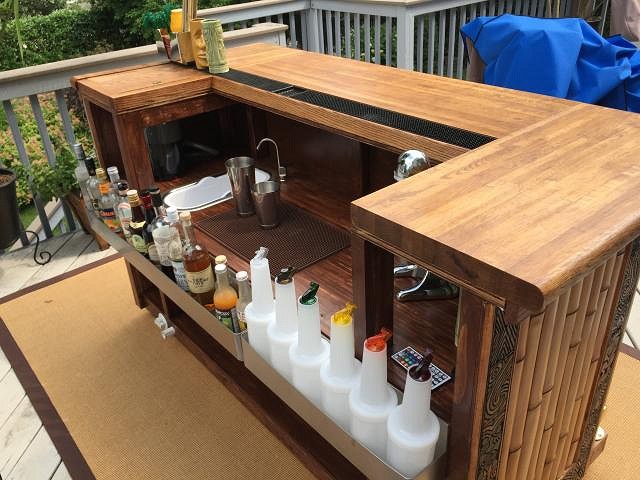
From the reverse, you can see the workspace, which was essential to me. i wanted a bar that is AWESOME to mix from. At the back of the bar, I'm constructing a bar rail, just like they have at Tiki Ti etc.
This was the point where i said "holy crap, this might just work".
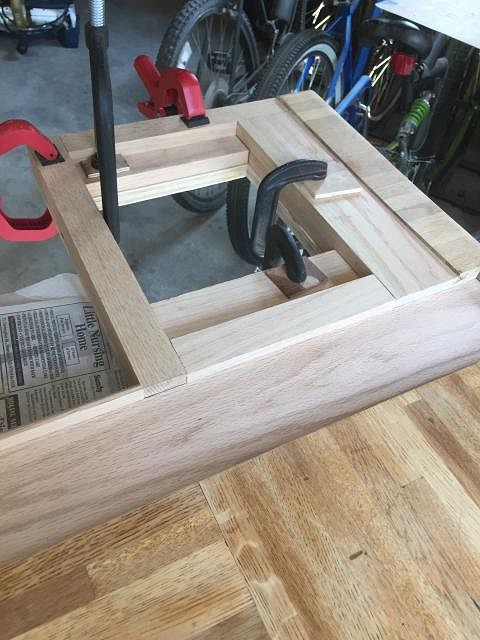
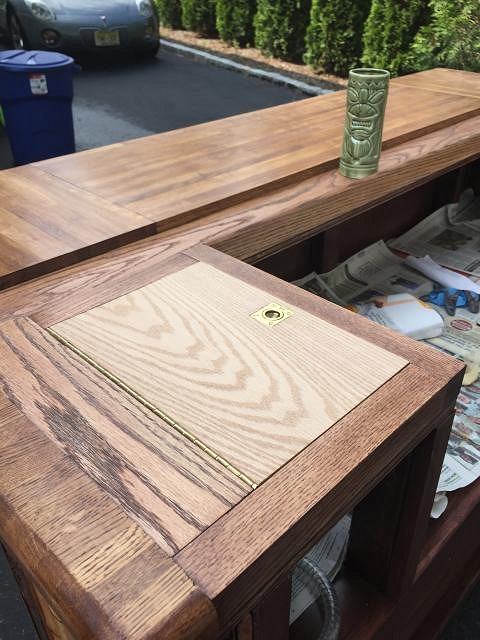
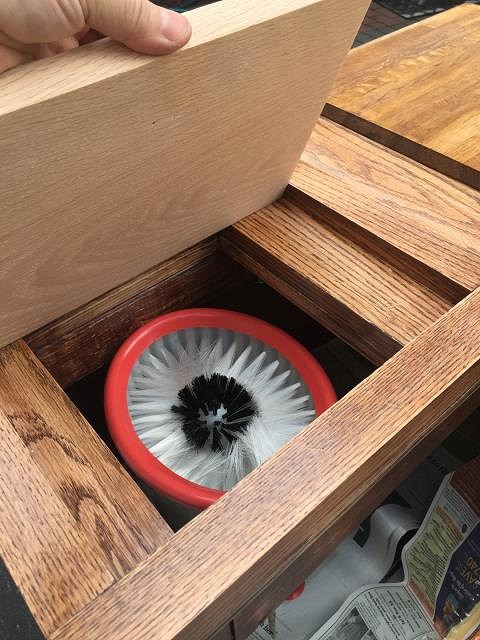
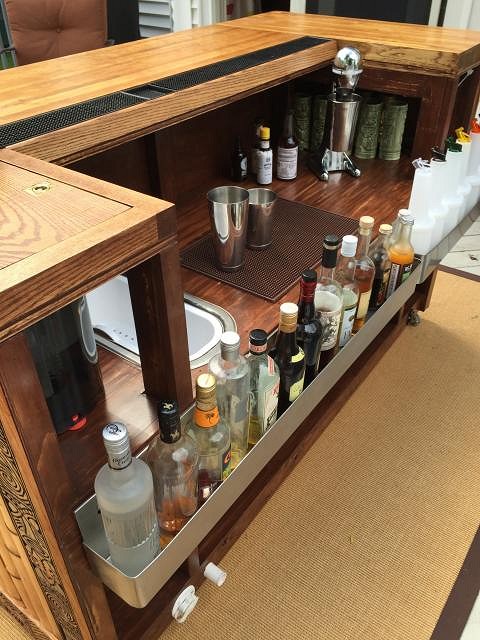
The only bit of real woodworking I did, an ambitious plan to include a trap at one end to conceal a glass/shaker washer.
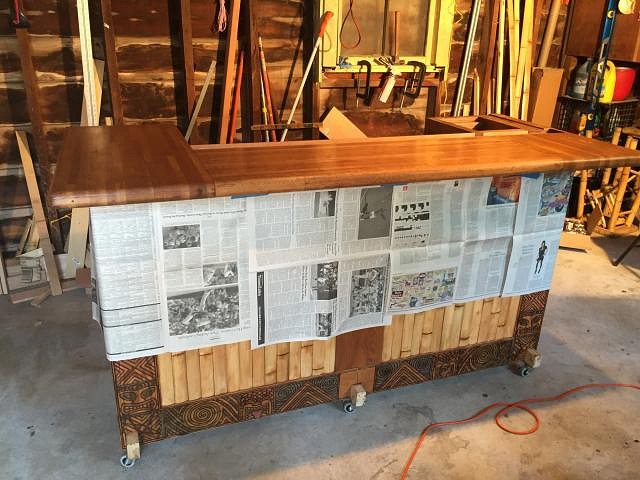
Stain, poly, sand, poly, sand, poly x5 - oh god will this never end.
Now I'm getting thirsty!
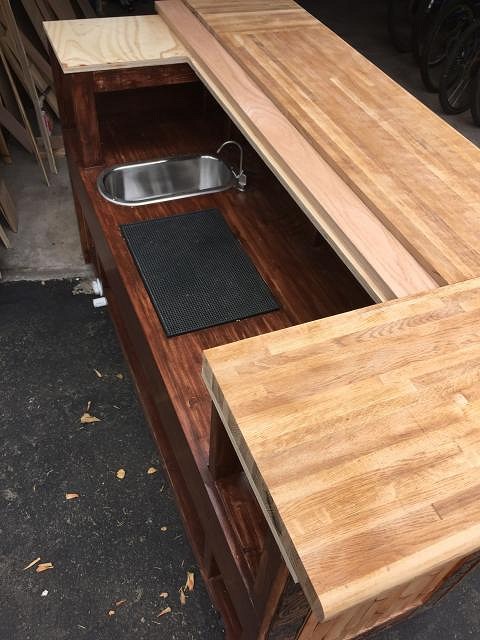
Here you can see where the trap will be, and also the inset bar rail.
What lies beneath.
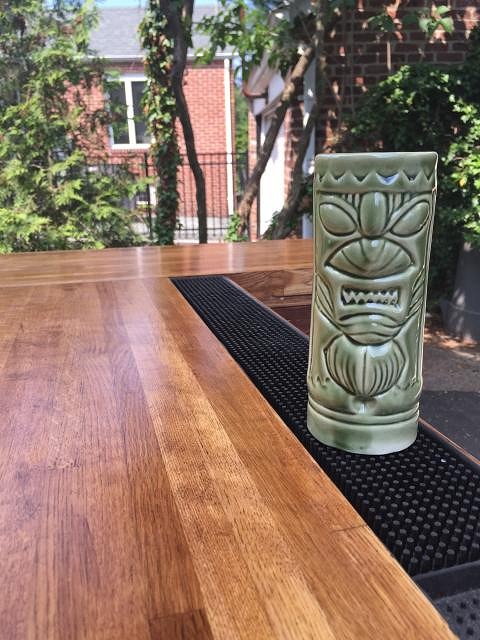
The bar rail was measured out so that when I put in a "biggie" bar mat, it all leveled out.
Speed rails. For, you know, all the BOOZE.
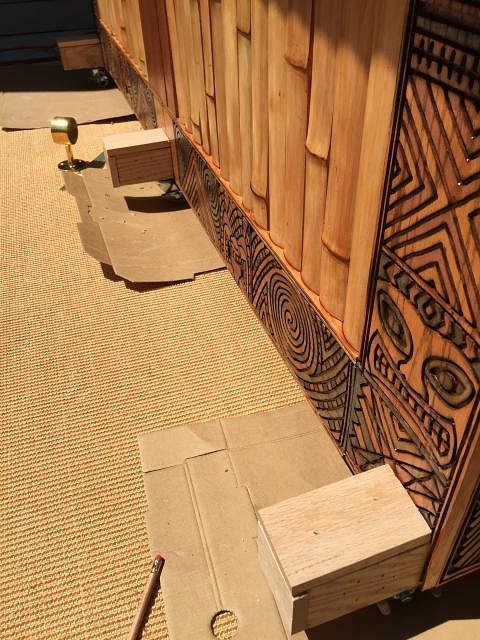
Building out the footings to hold the foot rail.
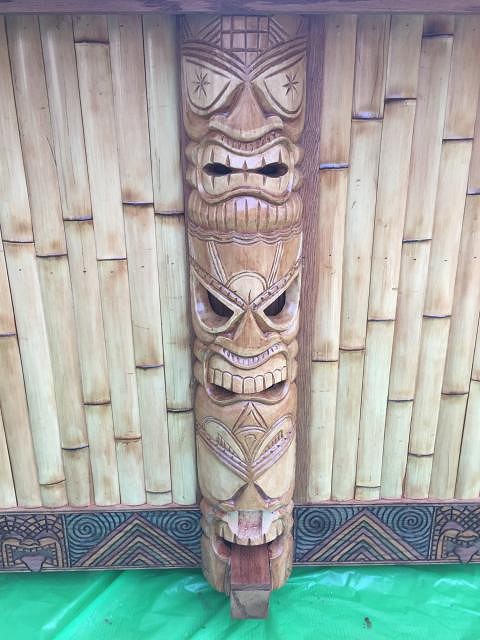
My schedule just wouldn't allow time to learn how to carve tiki masks (!) so this is a $50 ebay purchase.
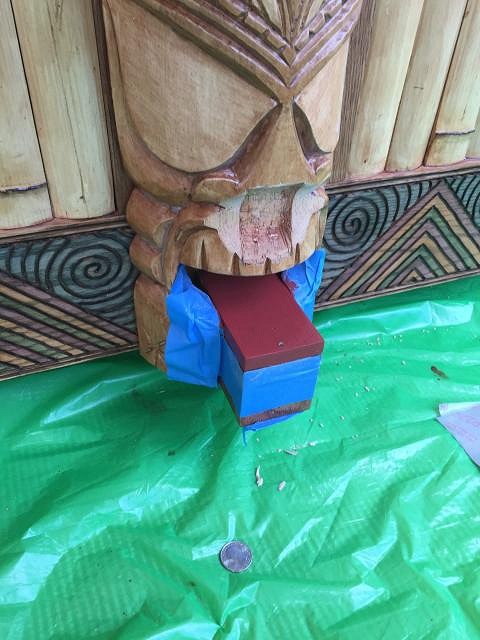
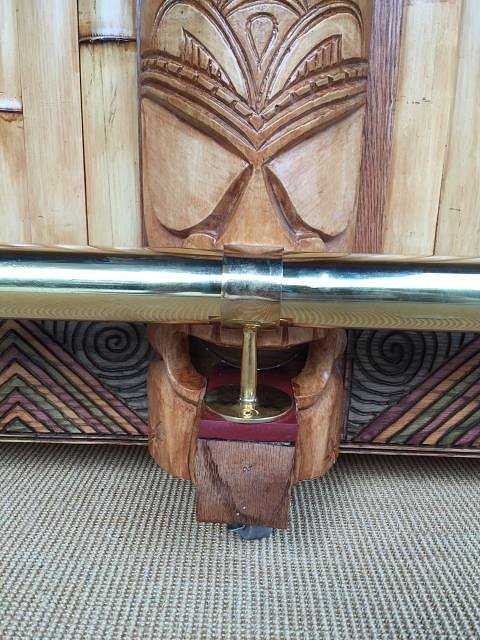
This was the point where I said to myself "you know, that kind of looks like the foot rail is on it's tongue. A happy accident, so...
...a last minute paint job.
it probably doesn't look impressive, but this tongue thing makes me laugh every time I look at it :)
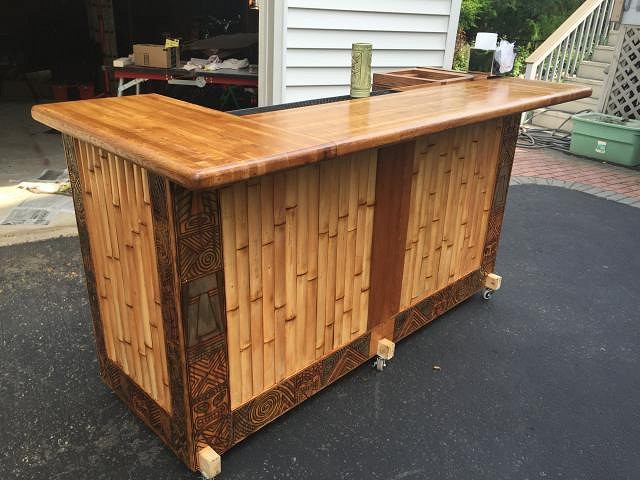
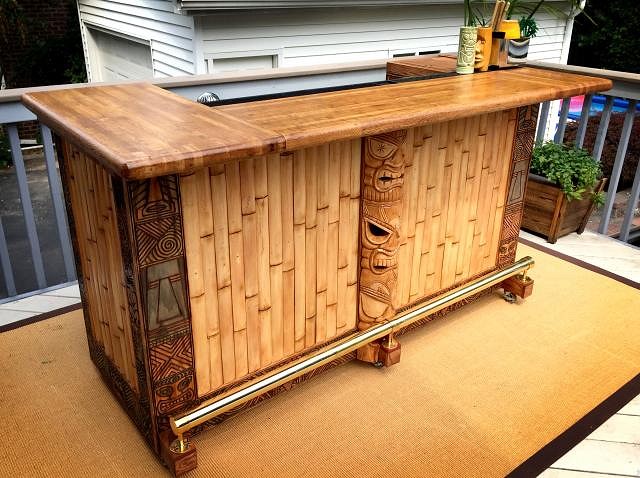
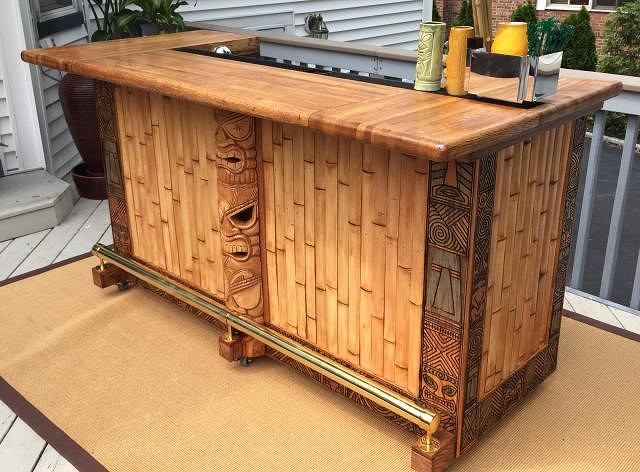
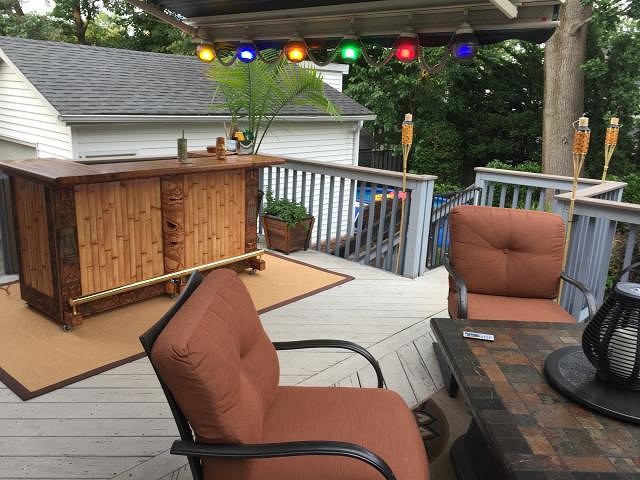
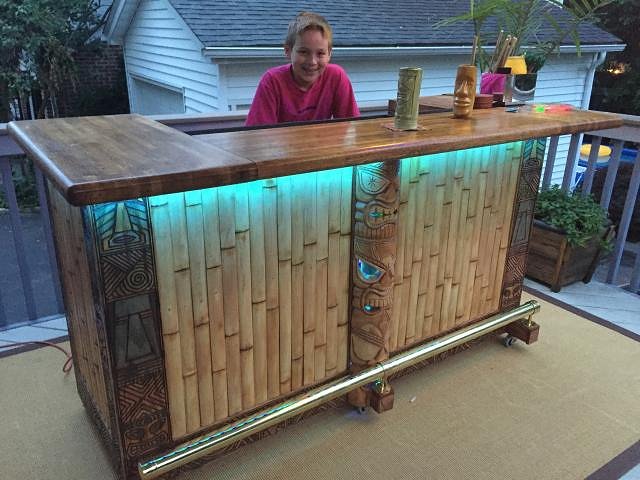
And here's some final pics of the bar on the deck. You can see it's pretty functional, while still not being overwhelming on our deck.
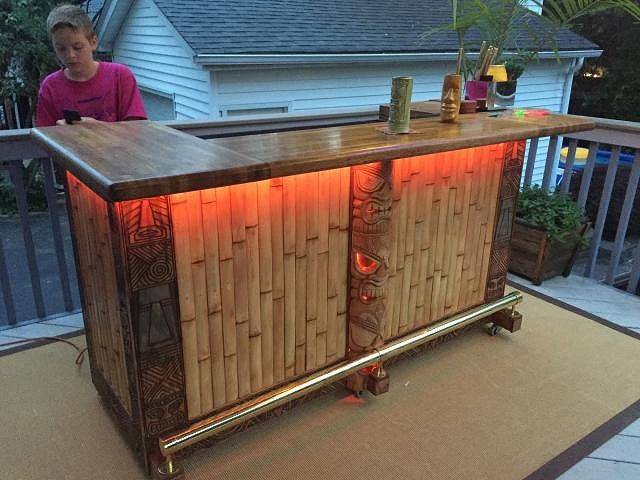
The running lights are cheap LEDs, $20 from Amazon, and my kids love how they change color.
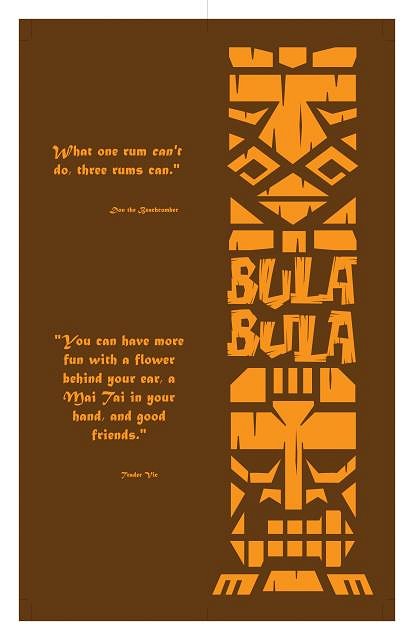
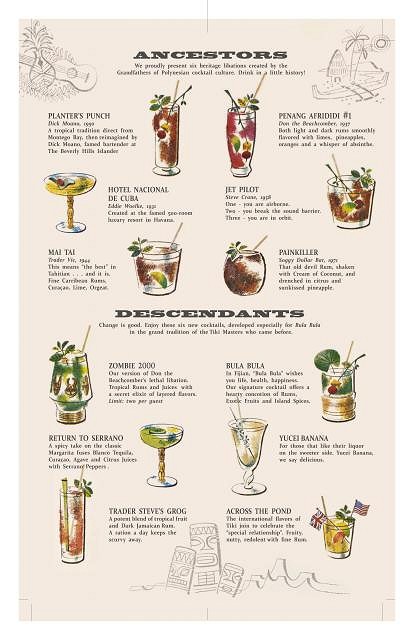
And that's it. Eight weekends, start to finish (and now I think about it, I attended Rum Renaissance in Miami during one weekend, so really, it's seven). Thanks to everyone here for posting pics that really inspired me to try my own small tribute to Tiki. Now, it's just a matter of printing the menus, which borrow very heavily on the tiki masters who went before :)
|