Tiki Central / Other Crafts / Wendy Cevola - New colors of the Frank mug by Frankoma now available.
Post #712619 by danlovestikis on Mon, Mar 31, 2014 8:08 AM
|
D

danlovestikis
Posted
posted
on
Mon, Mar 31, 2014 8:08 AM
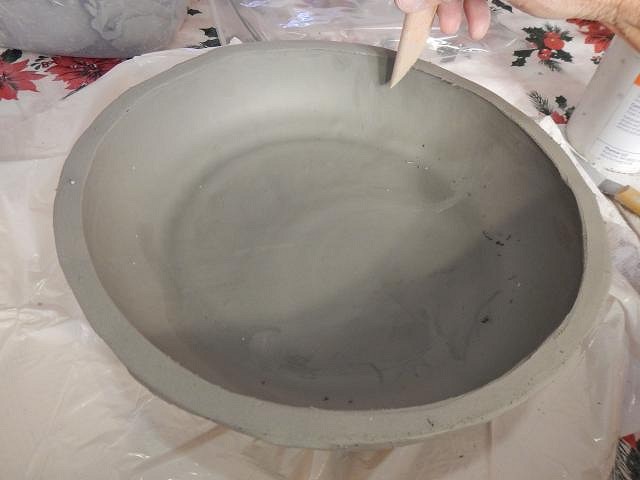
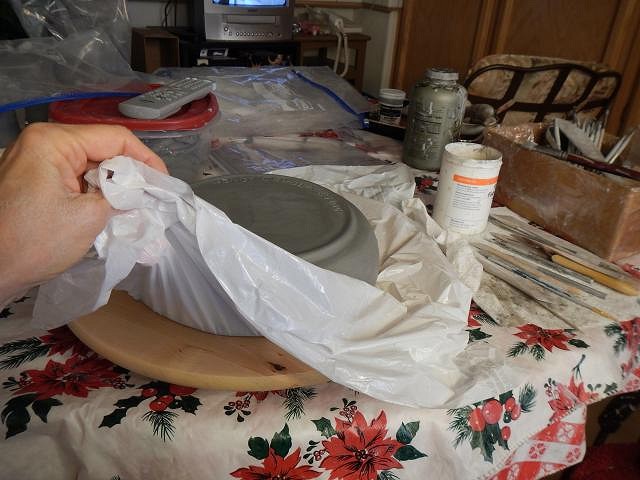
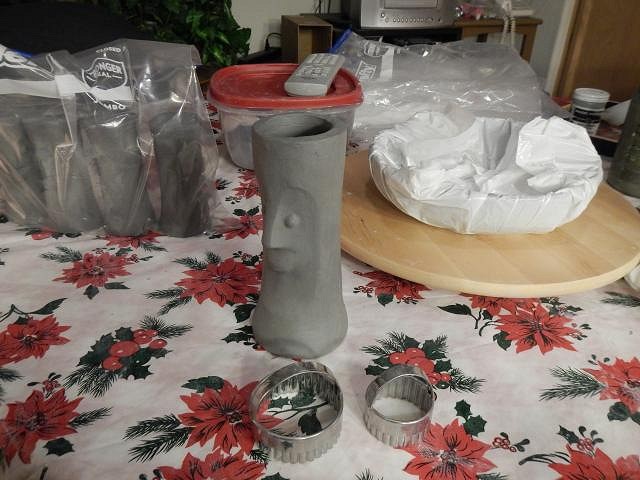
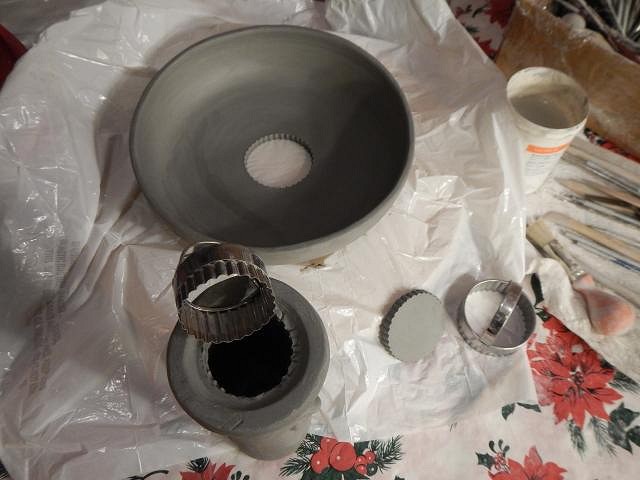
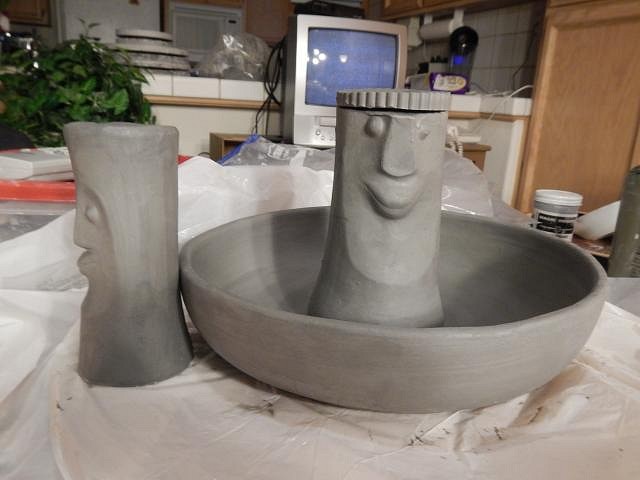
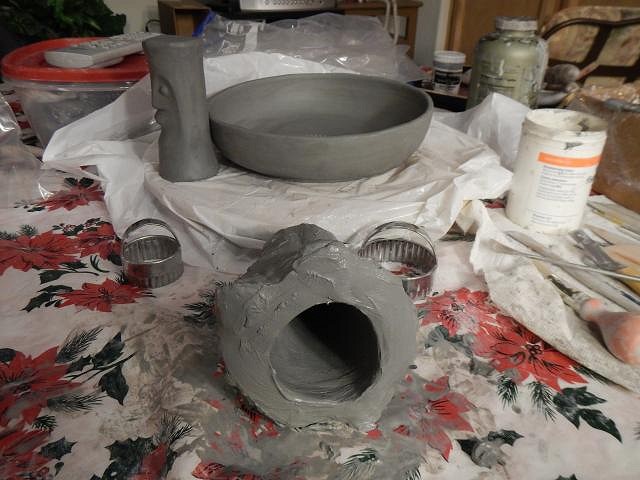
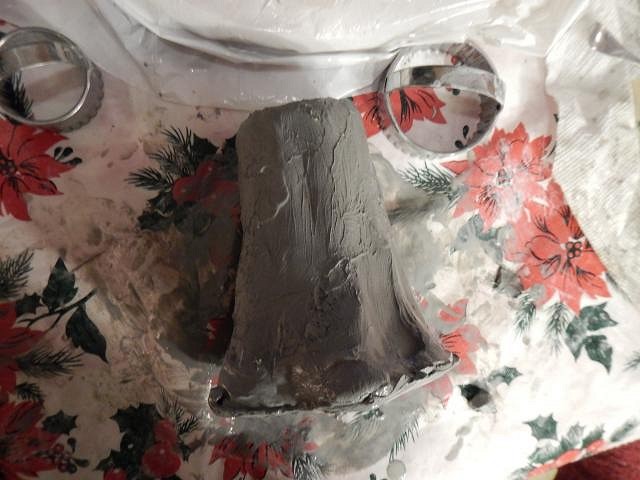
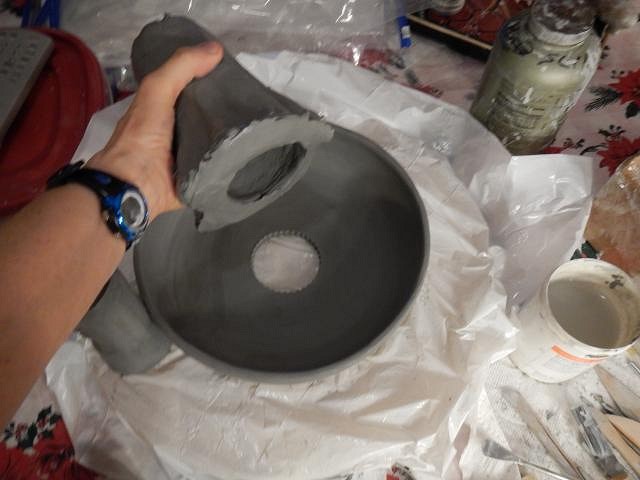
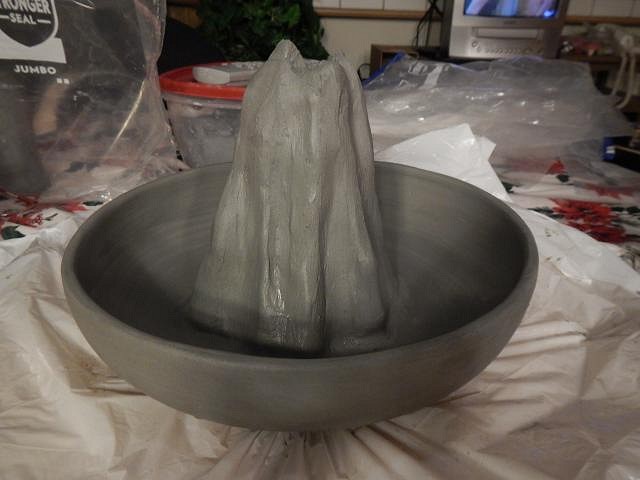
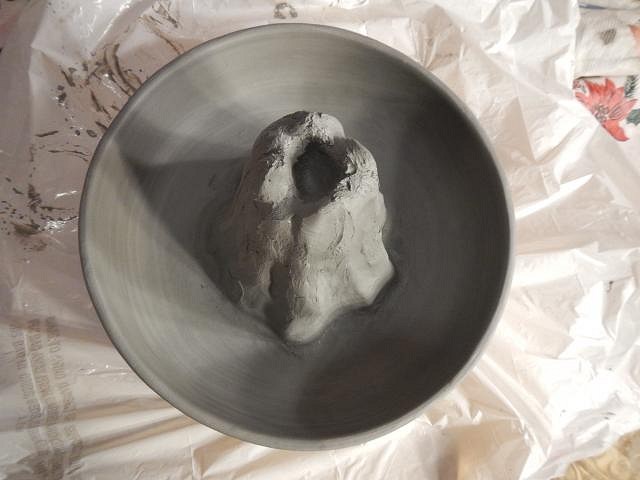
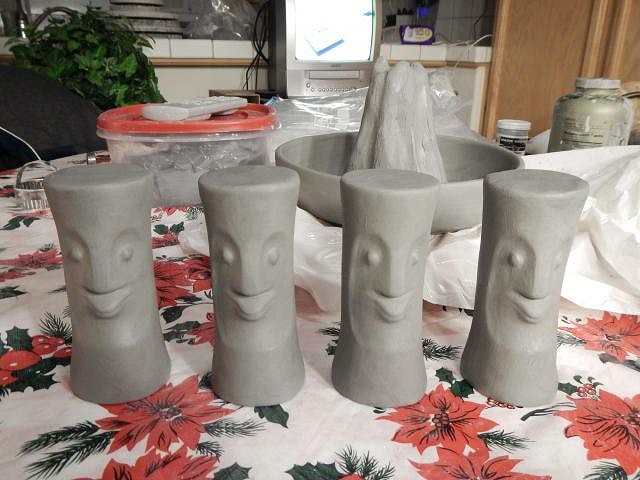
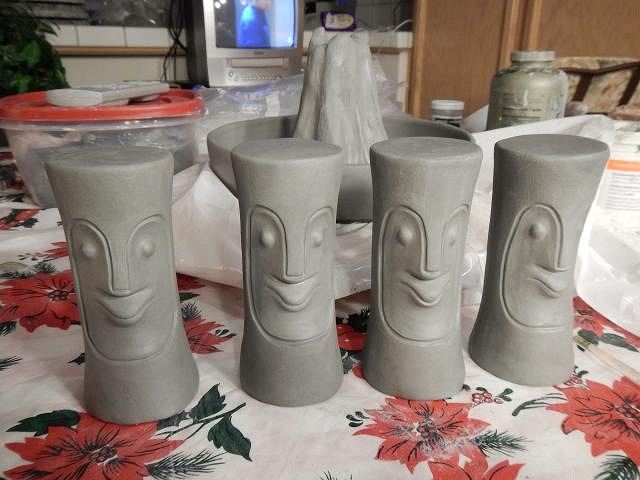
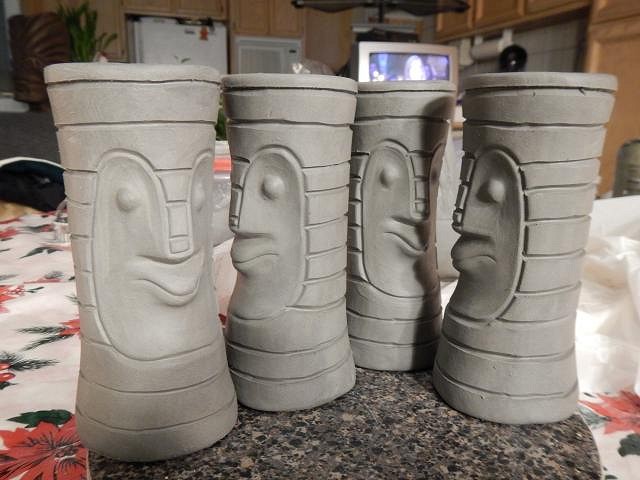
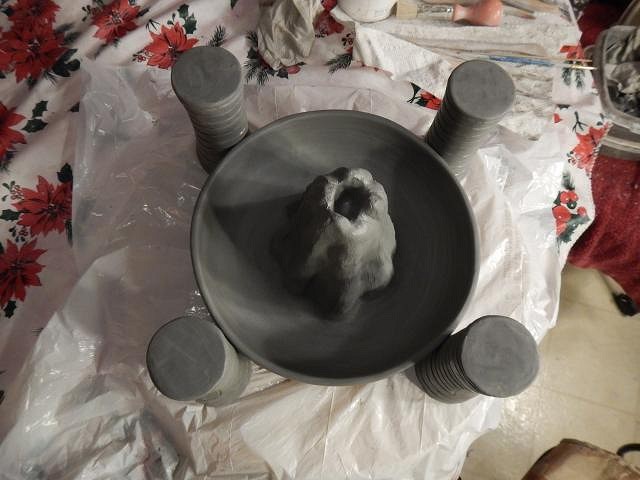
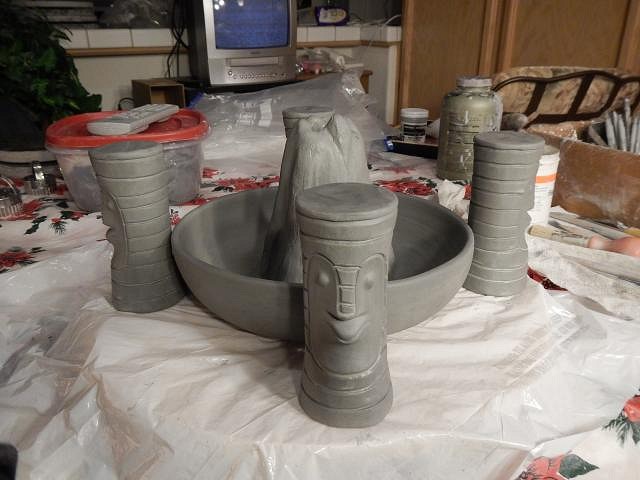
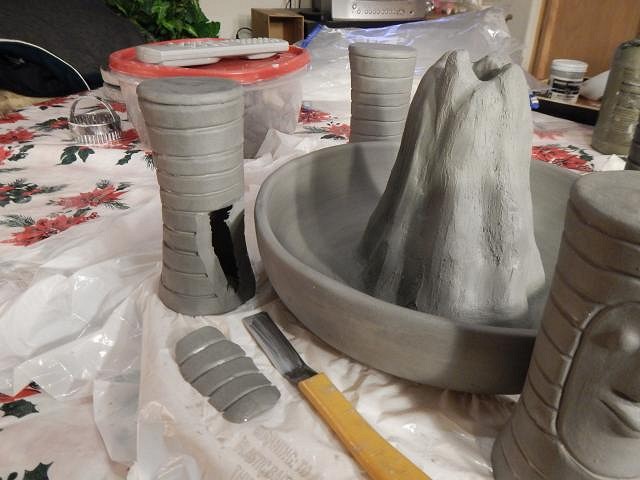
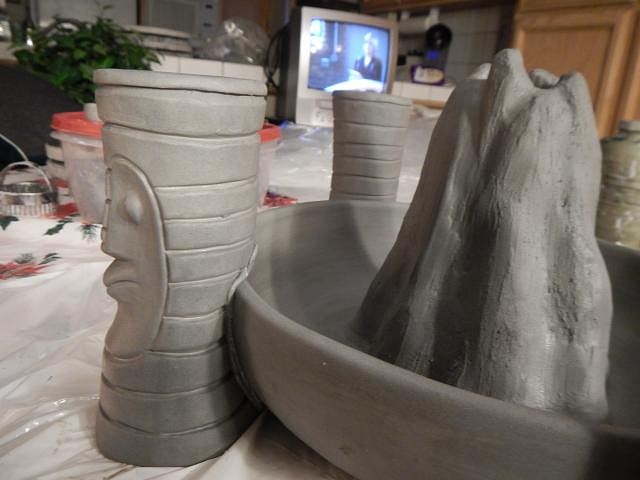
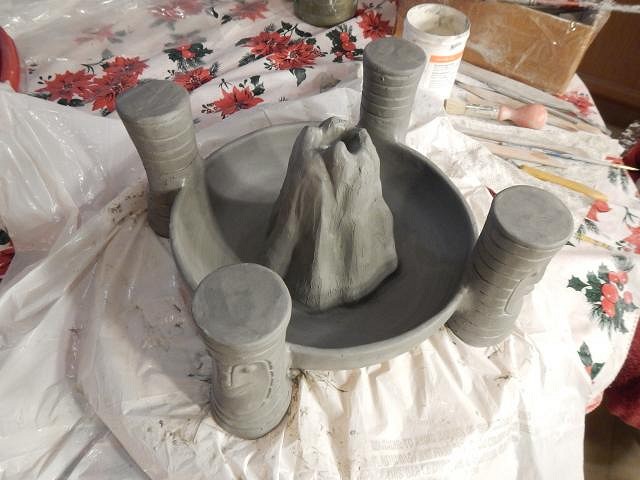
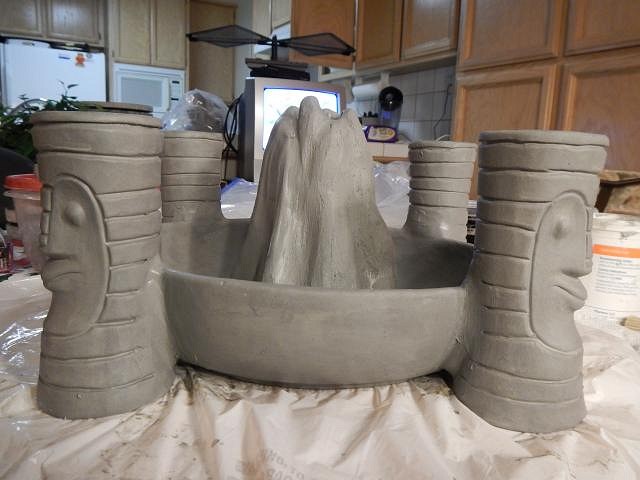
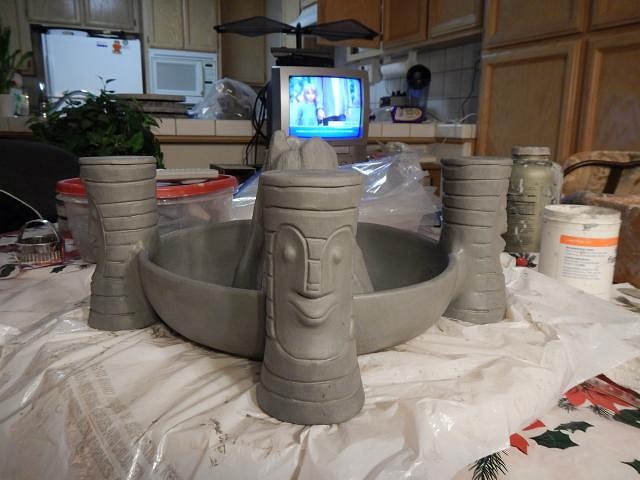
TikiAno glazing the ultimate challenge. Viking Bob thanks you, he is a fahionista. Moai Mike is lifting weights to prepare for his mug. littlegiles he's all set to do battle. Atomic Tiki Punk no kidding? When I googled for Viking hair I got Tom Sellek (sp?) so it could have been worse. As it stands he's just another horney guy. VampiressRN we love you! kingstiedye way to go Bullet. =================================================================================== So many photos so little time. So here's a project I sculpted awhile back. It was a Dan request for work provided. Introducing The Volcano Tiki Bob bowl and all the steps it took to put it together. I choose a bowl that had the size necessary for the addition of a volcano. I cleaned up the edges. At thrift stores I buy table top whatchamacallitz that rotate and put something waterproof on top. These are larger than professional turntables and work well for big ceramic projects. I needed a hollow base for the volcano so I sacrificed a Big Bob mug. I cut a hole in the center of the bowl and a corresponding hole out of the Bottom of the Bob mug. I set Bob in the bowl and then cut off the top of his head at the height of the rum cup he would need for flames. The disk I cut out of his bottom fit nicely for the top. I used sticky clay to glue that top on and then added it to the sides and bottom of the rest of the mug. Now it is ready to stick to the bottom of the bowl. I smoothed the bottom with some slip to remove tiny air bubbles. I stuck it in place. I built up more sticky clay on the sides. I built up the sides so that there is a rum pocket on top. Now put into a plastic bag he rested overnight. Then next morning it was time to work with the small Tiki Bob statues that go on the outside of the bowl. I carved around their faces and then I carved the rings. I tried to space them equally around the bowl. I never make it perfect because I'm always a bit off... I cut clay off the back of a small Bob in the angle of the bowl. I start small and slowly cut away clay until it fits. I add sticky clay, carefully to not introduce air pockets. One by one they are all added on. The bowl is done for now. I let it sit over night and then I flip it over and make the sticky clay smooth on the inside of the volcano. Now he'll be allowed to dry very slowly so nothing cracks. The volcano is very thick so it takes weeks for it to dry. I take it out of the plastic bag for an hour each day and then back inside. Before bisque firing I will carve the rings on each Bob back towards the bowl where the attachment messed them up. Dan's happy with the way his bowl shaped up. It is the first volcano bowl I have made where the volcano is attached. Cheers, Wendy [ Edited by: danlovestikis 2014-03-31 13:17 ] |