MadDogMike he is so relaxed he's forgotten to finish his drink. I like what you have at the end of your posts.
Clay, the oldest and most divine art media;
"And now, from the clay of the ground, the Lord God formed man" Genesis 2:7
SandraDee Bob is very happy you like him. I've put you on the list for a severed head. We miss you.
tikiskip thanks for stopping by. I was just looking at your lamps. They are so creative and beautiful.
TikiAno Love Beach Blanket Bob-o! Another cute name.
LoriLovesTiki oh no, I hope he's not a bomb I've had so many things blow up in the kiln. Wish him good luck!
hang10tiki Bob thanks you for checking out all his belongings. I'm looking forward to making his towel multicolored.
dartharnie you inspire me to do some "set up" photos. This one was candid.
Philot has his Temple of the Jaguar bowl and he was so kind to send me these photos.
His cats checked out the box when it arrived.
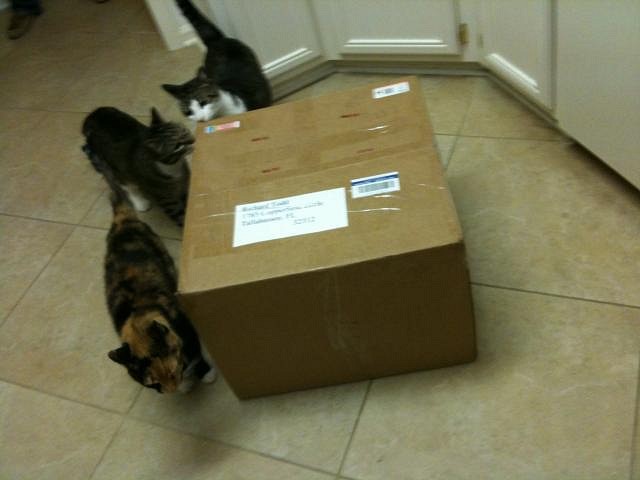
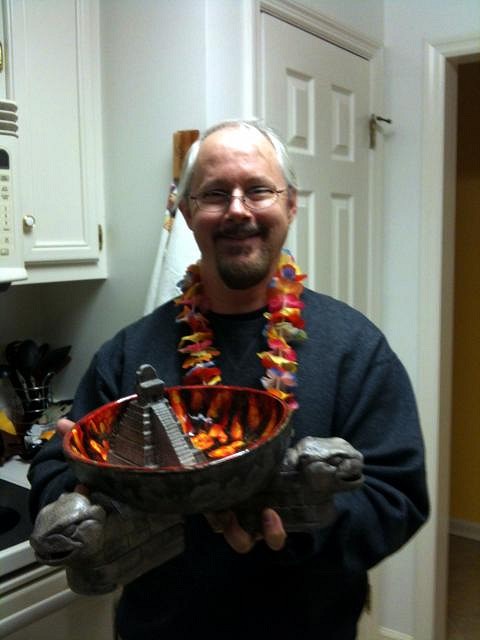
Introducing Philot now holding his bowl. I am always grateful for photos. Thank you for sharing these.
Progress Report Wish List #3
I have 12 Severed Heads cast as of today.
Yesterday was a mess. Hopefully we have a mold made.
When we made the mold for the severed head GROG mentioned that he didn't make his molds as thick as we do. This time I decided to make it smaller.
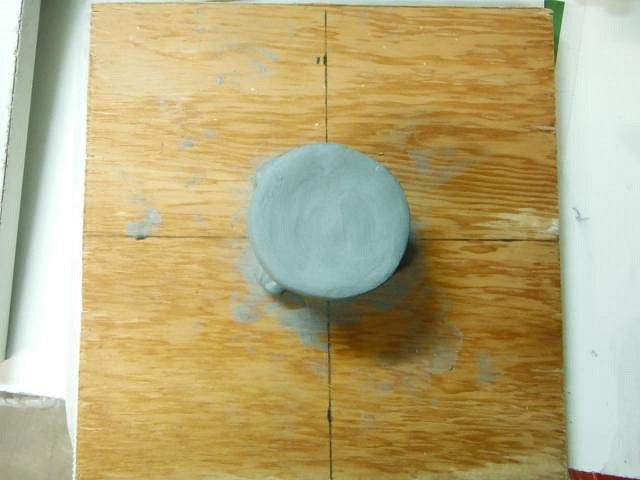
I marked a piece of wood to the size I needed for a mold with an inch and 1/2 of plaster around the widest point.
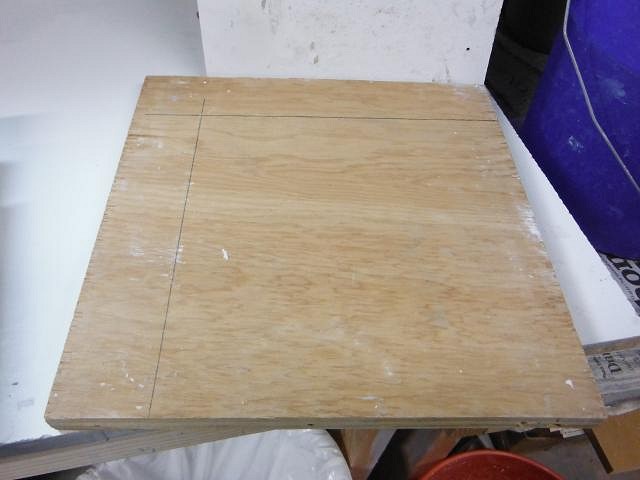
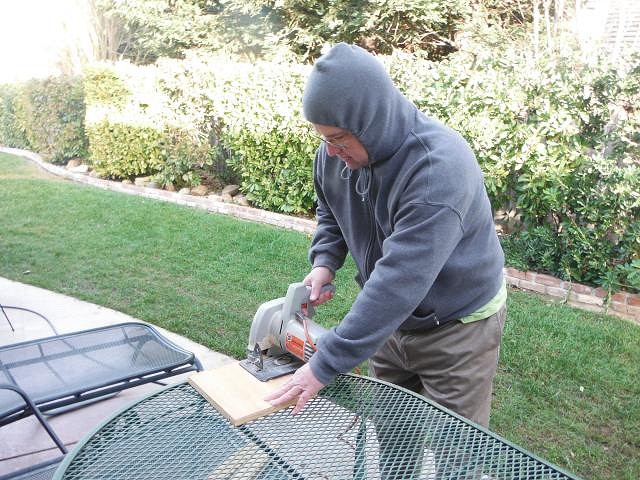
Dan cut the board for me.
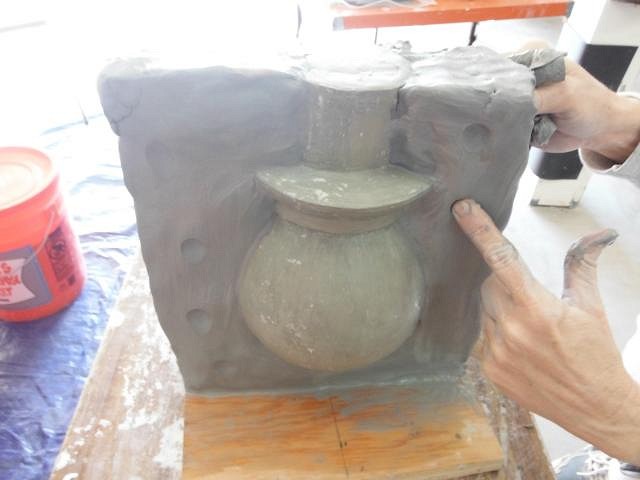
I marked the center and put down the first piece of clay for the mold.
Then I changed my mind after looking at this. I think bigger pieces last longer.
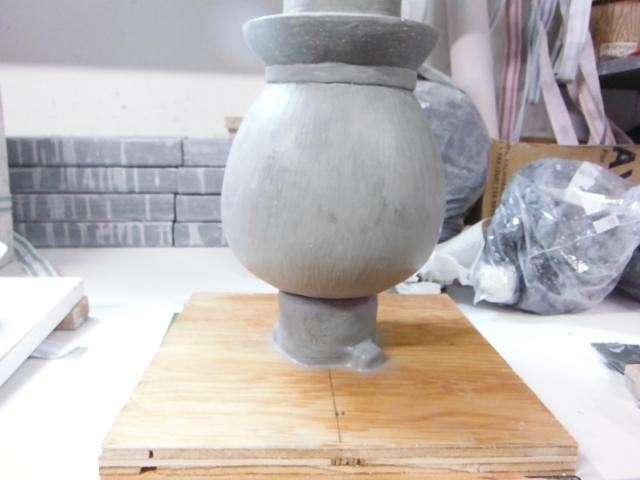
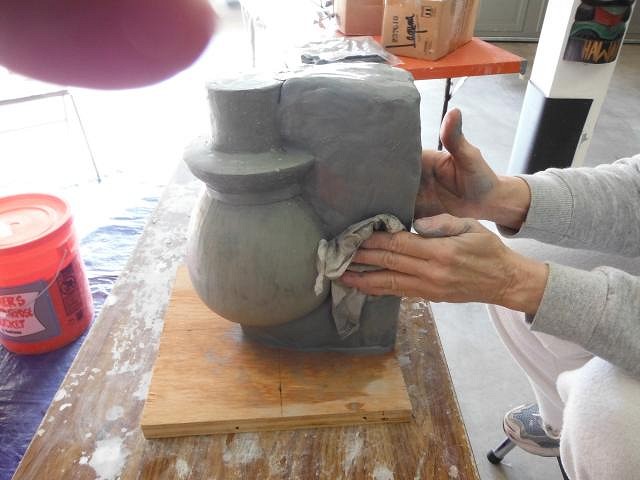
I started building the clay up one side.
I used a wet cloth to smooth it and to clean the edges sharper along the pot.
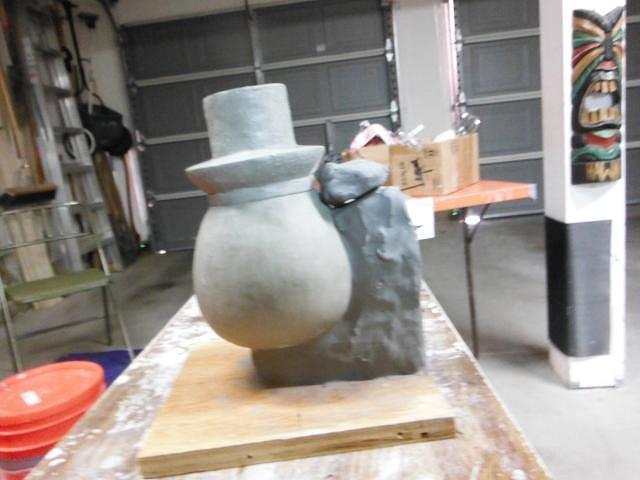
I built up the other side and pressed in some locks.
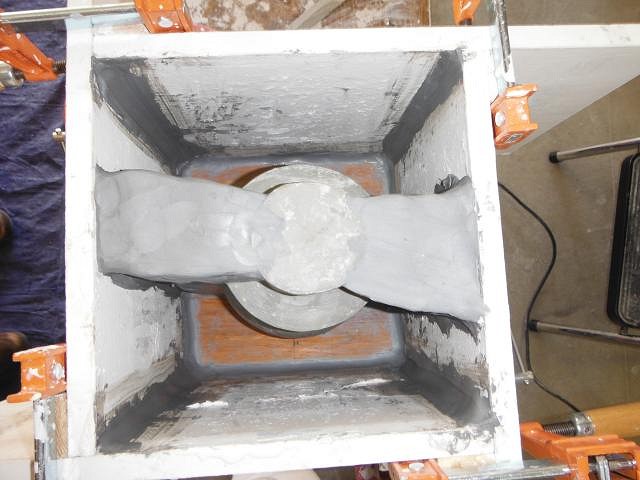
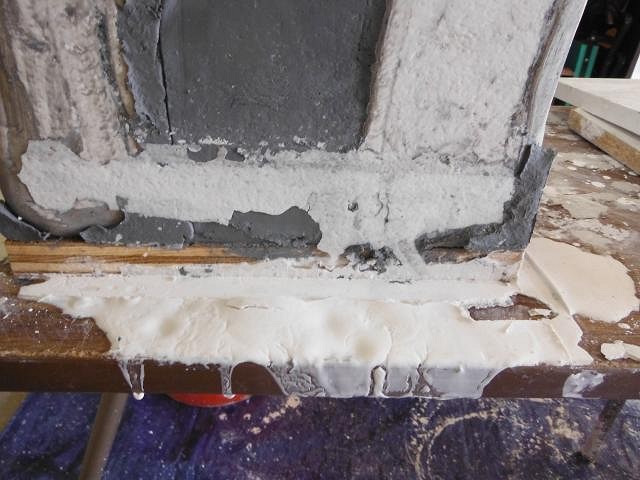
Once I had the box put together I added the snakes of clay to prevent leaks.
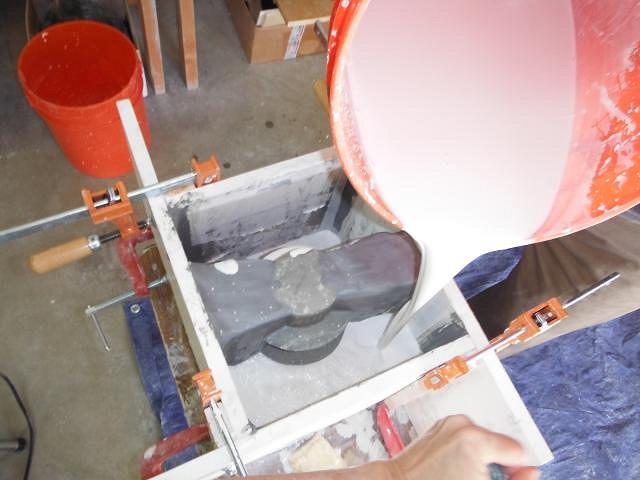
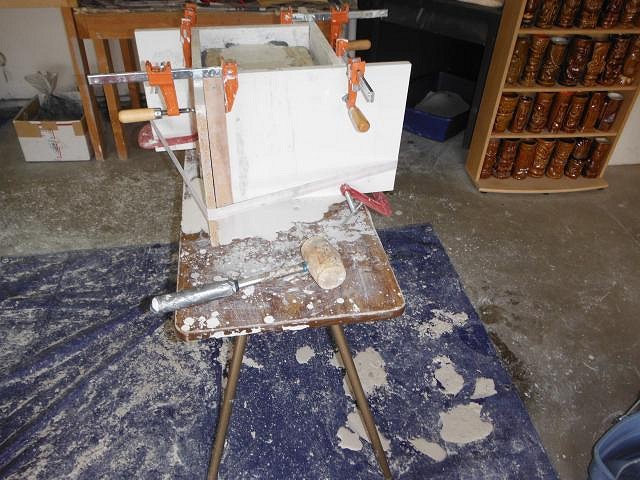
We mixed plaster and Dan started pouring it into the sides while I tapped it with the rubber mallet to get air bubbles out.
One last tap with the hammer was all it took to knock loose the clay snake and start gusher. I used old clay and it wasn't a sticky as new clay. Lesson learned. I had to take clay and stick my arm in the plaster and press it in place until the leak stopped.
You can see here how small the leaks were but boy did it gush out.
Now I removed clay partway down the sides. I left enough clay that I will have a bottom piece that goes from one side to the other side. That replaced the small round bottom I first made. I painted on mold soap three times wiping he excess away after each application dried.
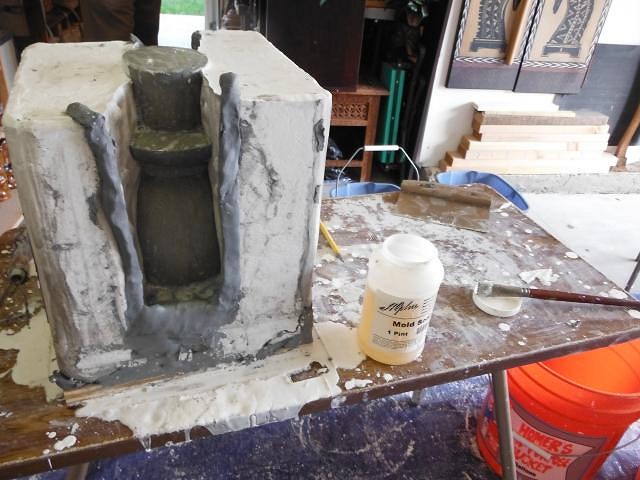
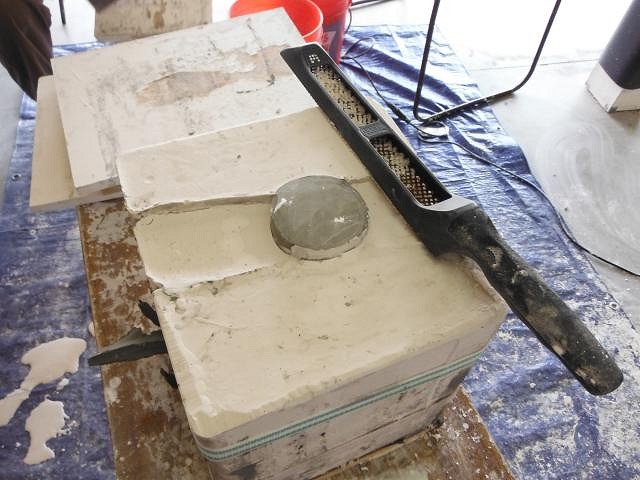
Once the sides were firm I rasped the top to make it level. You can now see where the opening will be when we pour slip into the mold.
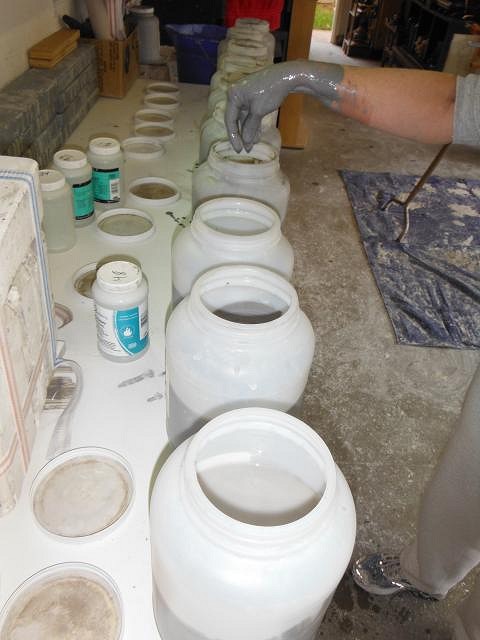
We wait 45 minutes after each pour before was do the next piece. So this time we worked on preparing slip. It always needs water added so now we buy half jugs to leave room to add it. I stick in my hand and mix it until I can tell it has the right amount. That's how I do the plaster too.
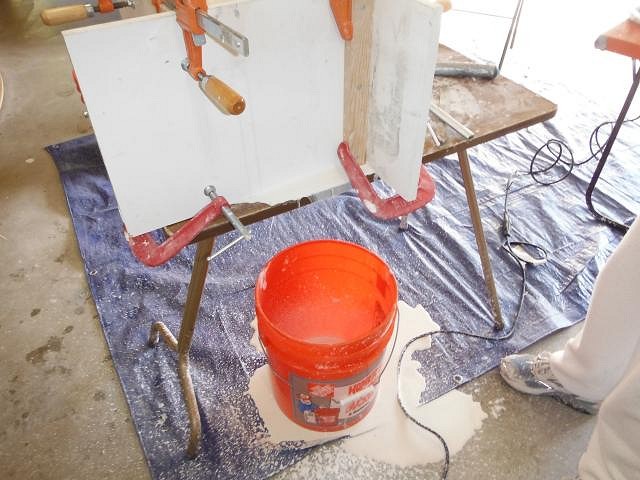
This was a very messy day.
Dan to the rescue while wearing his Frog Island Shirt from CY.

Now this mold will dry for at least a month. We have a fan blowing on it 24/7.
Today it a clay day which should be all fun and no huge mess. Cheers, Wendy
[ Edited by: danlovestikis 2013-01-23 10:09 ]
