T

TikiAno
Tiki Socialite
San Diego, CA
Joined: Aug 07, 2012
Posts: 1382
|
T
I recently started up a post that mentioned slab rolling cups (or cylinders). As I worked on four columns for a bowl I'm working on, decided to take some photos for a step by step. I look forward to any other feedback/info on this.
Slab Rolled Cylinder-Making:
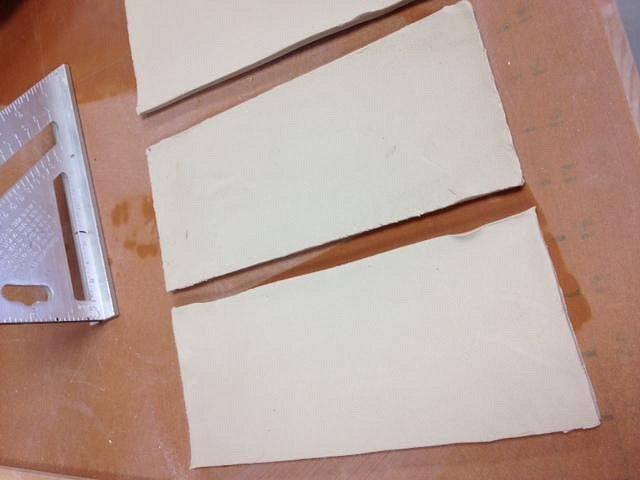
- Find a "form" that has the diameter of the piece you want to build. Measure it (with a rope, tape measure, sheet of paper) to figure out the size of the piece of clay you'll be working with- with a little extra width. The pieces in this step by step are pretty small (using part of a Pony roller as the form), but I've used large pieces of PVC, etc. The process is pretty much the same. I roll out a sheet by hand, cut one rectangle out, then trace that so all of the pieces are (approximately) the same size. Note: the photo does NOT show evenly sized triangles. Oops.
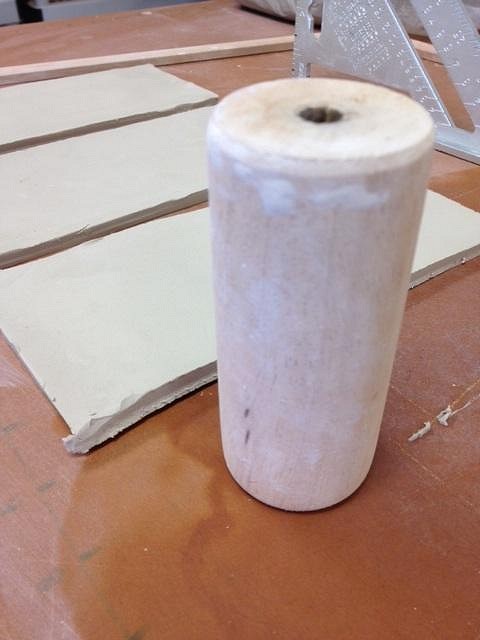
- Here's a photo of the wooden roller that will be the "base" of the form.
- Wrap newspaper (or another paper) around the form- this acts as a barrier so your clay doesn't stick to the form- allowing you to remove the cylinder/ form.
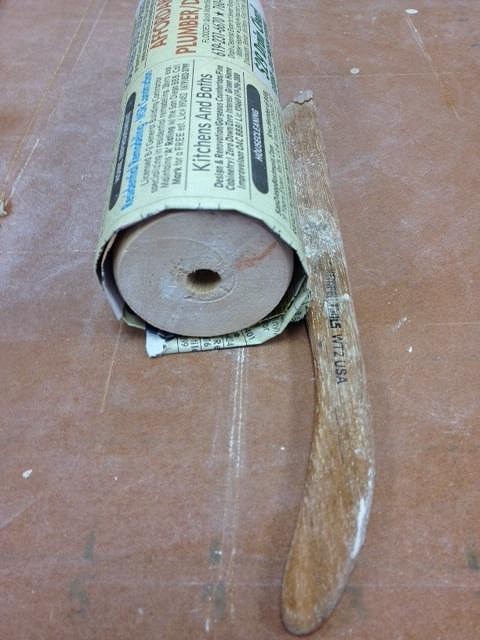
- Roll your clay around the papered-form. (You don't need this much overlap- I mismeasured). Depending on how you plan to connect the two pieces, you'd use less (or barely any) overlap.
- Trim your clay piece, if necessary (note: badly trimmed edge, oops).
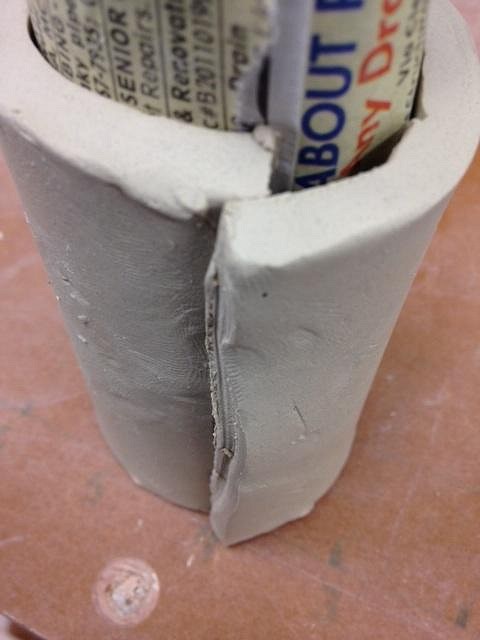
- Connect your edges and make the seal. Obviously there's a lot of way to make the connection. I prefer to miter cut the edges, then score and slip. Overlapping the seam will make a stronger seal- so long as you connect the edges well. Using a wood knife help smooth out the outside as well as the interior of the cylinder. Make sure to put your hand on the opposite side of where you're smoothing out so you don't push through the wall. At this point you should be ready to remove the form- which is easy.
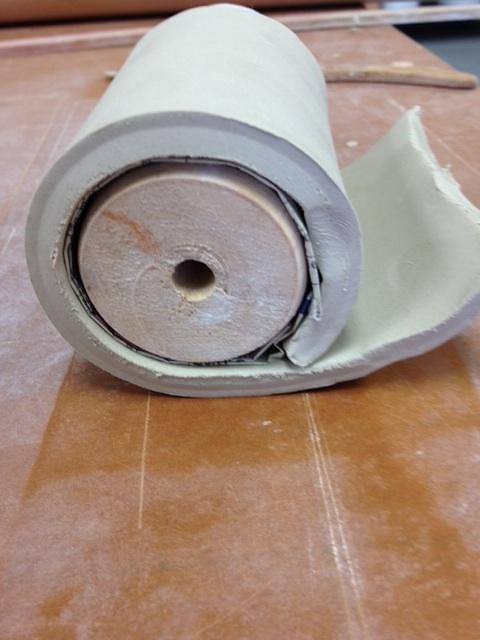
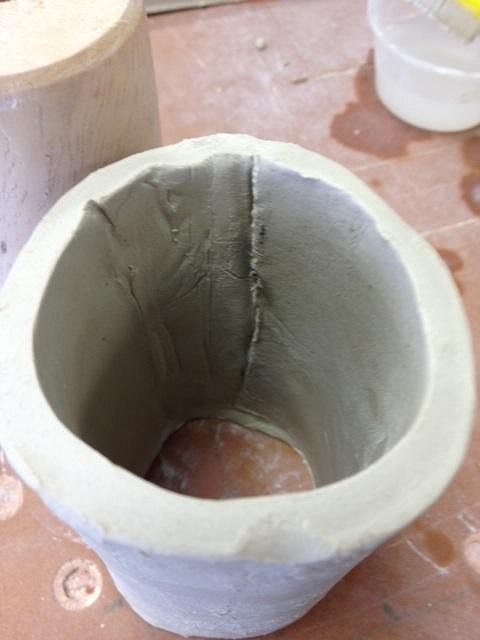
- Remove the form from inside the cylinder. While holding onto the outside, tap the form one way or another. If it's a solid form (like the wood one in the photos), you can push it right out. Don't pull on the paper- push or tap the form until it comes out. The newspaper MAY stay stuck onto your clay, no biggie. Since you'll have to smooth out the interior edge, make sure to remove all of the paper- I've made the mistake of assuming it would just burn off when getting bisque fired- then realized there was a segment that wasn't properly attached.

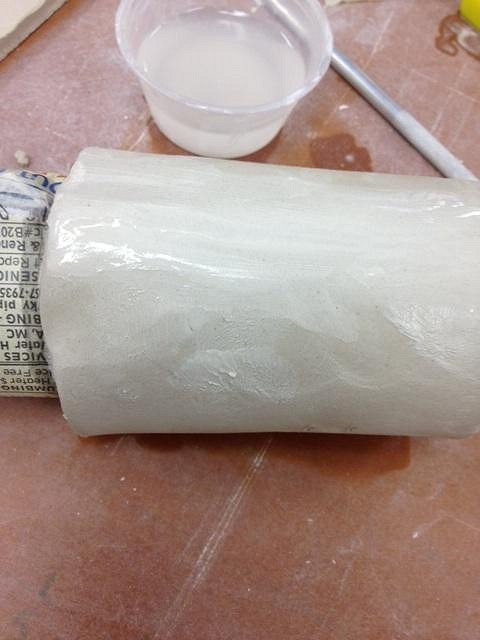
- Connect the inner seam using a knife or another tool- or your finger. It should be smooth and even. Ideally your seam should look much better than mine, meaning you'll have less "repairing" to do to ensure a smooth edge.
- With your base cylinder, carve, hand build, etc. Though I don't have photos, to add a bottom (for a mug), stand up the piece on another sheet of rolled clay, trace out a circle with a pen tool or knife. Remove the extra clay. Score and slip the bottom piece onto the hollow cylinder. Make sure all of the edges are "done." You can even add a "foot ring" onto this method by tracing another circle and then cutting a circle out of it- trimming a foot ring on a wheel probably won't work the best since the piece wasn't centered on a wheel. (Does that make sense?)
That's about it. I look forward to any feedback, etc. Since I'm not great throwing on the wheel, and don't own a clay extruder (which is a very fun and easy way to form cylinders (with the right die)), slab rolled cylinders can be a good option. Hope this helps!
|