Tiki Central / Other Crafts / BeezleBug Mugs (Pg. 14: Paintings)
Post #645824 by BeezleBug on Fri, Jul 27, 2012 1:35 PM
|
B

BeezleBug
Posted
posted
on
Fri, Jul 27, 2012 1:35 PM
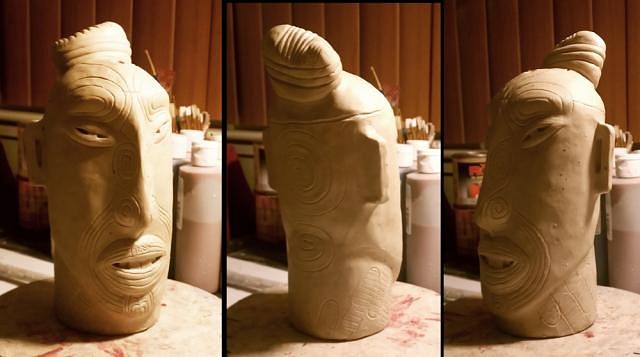
A friend was asking me about the slip casting process, so I thought I document my newest mug, Topknot, in more detail. Here's the start: I sculpted the mug in Klean Klay Alternative Medium. The Klay was built up over an empty tin can to give it some extra rigidity. Rubber-tipped clay tools were used to add detail. I smoothed the Klay with my fingers and a little Murphy's Oil Soap.
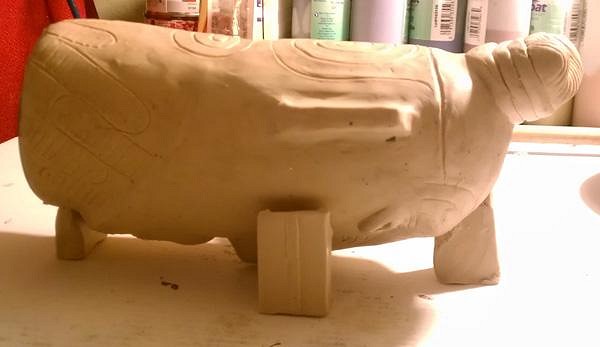
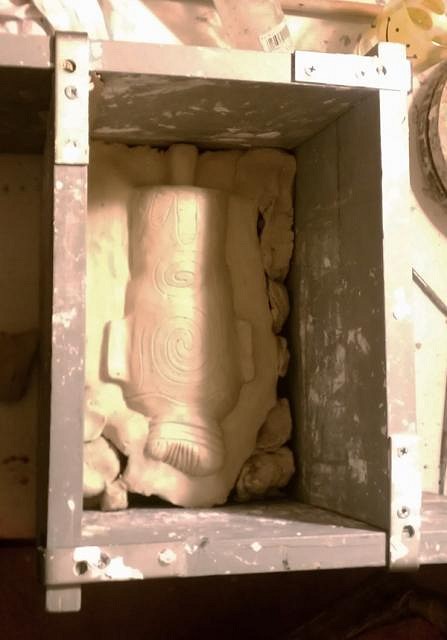
Now, time for the mold. Because the sculpt included intricate line art, I suspended the mug nose-first with short Klay pillars. The pillars join the sculpt where there was no detail. The whole thing sits on a large corrugated plastic matte.
In order to create a plaster cast on the sculpt's back, a Klay platform is built-up to reach the rough center-line. I like to use new sticks of Klay cut-to-length. The top of the Klay platform is smoothed and delicately joined to the sculpt body. The trick when creating a mold is to avoid creating overhangs, where the slip-cast will not come out of the mold without tearing and shearing.
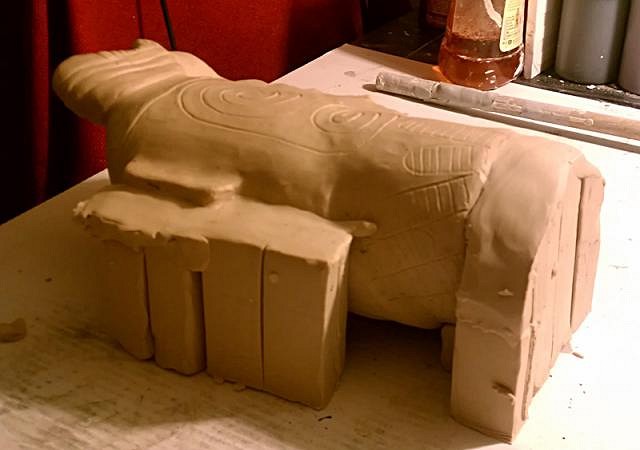
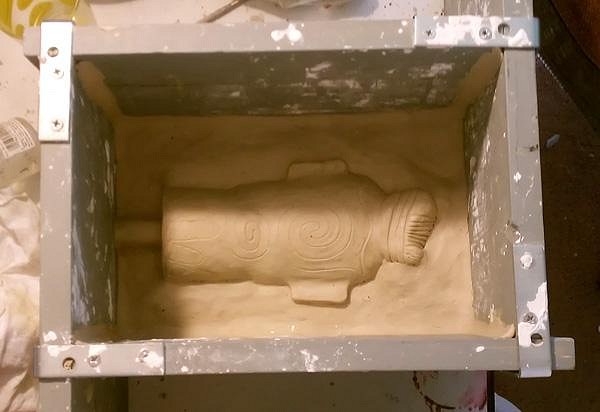
Eventually, the platform surrounds the entire mug. Note how the platform is not flat, but undulates in a quest to avoid mold overhangs. Also, notice that I changed how the platform meets the mug bottom. There's a tube there that will allow the slip to be poured into the mold. (More about this later - the tube is in a non-conventional location.)
A 4-walled, adjustable casting box is placed around the result. I made the box from identical pieces of cut lumber. There are brackets on the top corners so the walls can slide back-and-forth and take on different widths and lengths. The empty gaps between the Klay platform and the walls are filled in with scrap Klay left over from previous mugs.
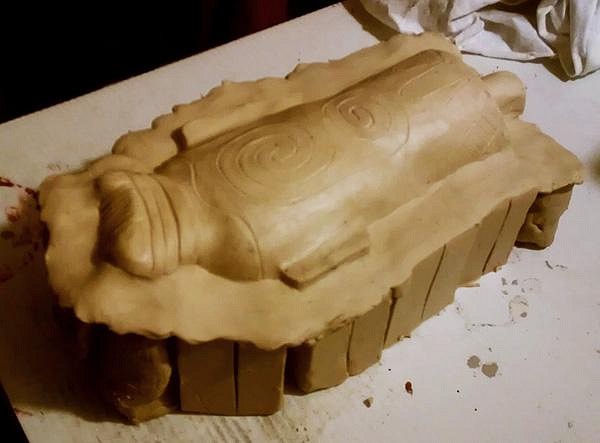
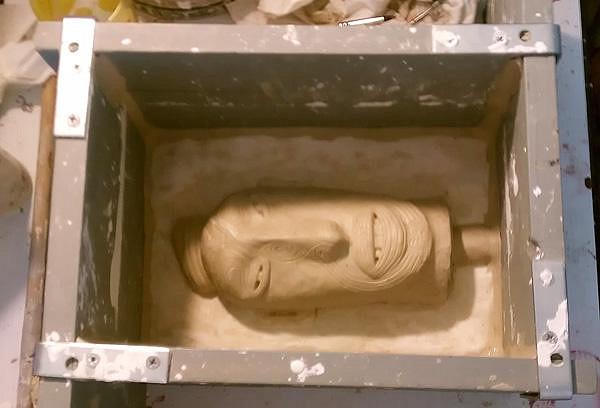
Eventually, the platform to smoothed out to meet the walls. Additional Klay is pressed in the wall corners to prevent any plaster leaks.
At this point, plaster is poured in. No photos for this as it's not very exciting. I buy plaster in 100 lb. bags from Aardvark Clay in Vegas. I don't measure when I prepare the plaster. I dump some in a large plastic bucket, add tap water, and mix by hand until is feels right (no too dry, not too watery). I've gotten pretty good at estimating the amount I need for a pour. (I suppose I should be more careful, but I'm all about quick-and-dirty - I need time for all my other non-Tiki pursuits!) So, the plaster is poured in the box. When it's somewhat dry (within hours in Nevada), the box is pulled apart and the Klay platform is removed. The resulting plaster half in placed on the table. The mold-box is positioned around it. Klay tubes are added to the plaster edges and the box corners to prevent leaking. A little Oil Soap is sprayed on the plaster (to prevent new plaster from sticking to the old). New plaster is mixed and poured in.
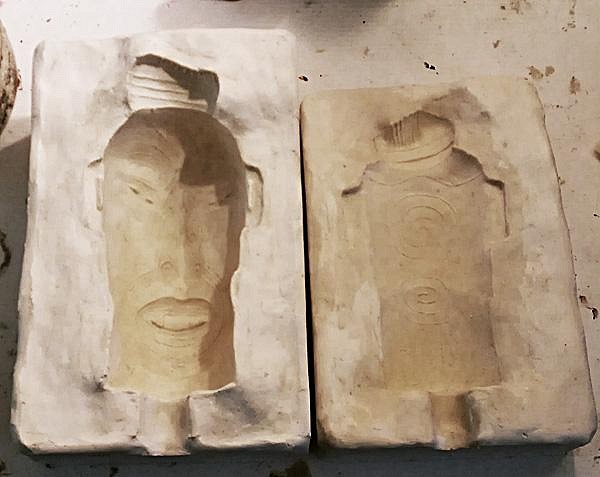
When the new plaster dries, the box and Klay is removed and the two plaster have are gently pried apart by hand. Here's the result. (The two have are the same width and length - the slope of the center line makes one look shorter.)
Now, here's where it got interesting...
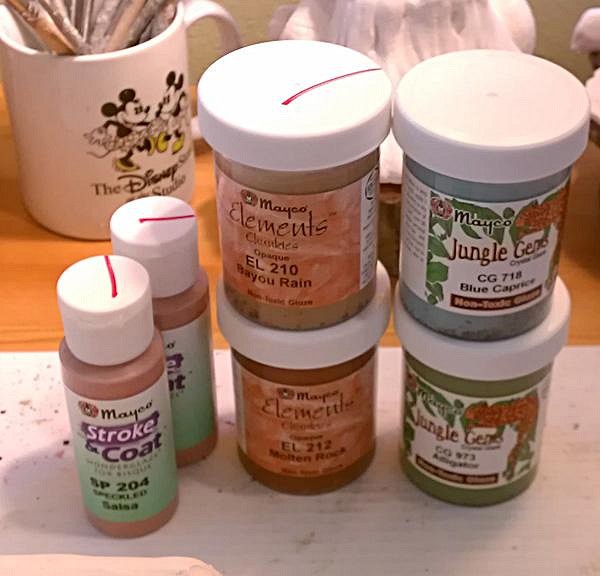
Now, while I'm waiting for the plaster to thoroughly dry (another or two), I can think about glaze. I'm going to break out of my boring Stroke-and-Coat habit, and use some crystalline glazes...
[ Edited by: BeezleBug 2012-07-27 13:38 ] [ Edited by: BeezleBug 2012-07-27 13:43 ] |