Tiki Central / Other Crafts / Wendy Cevola - New colors of the Frank mug by Frankoma now available.
Post #621002 by danlovestikis on Sun, Jan 15, 2012 1:35 PM
|
D

danlovestikis
Posted
posted
on
Sun, Jan 15, 2012 1:35 PM
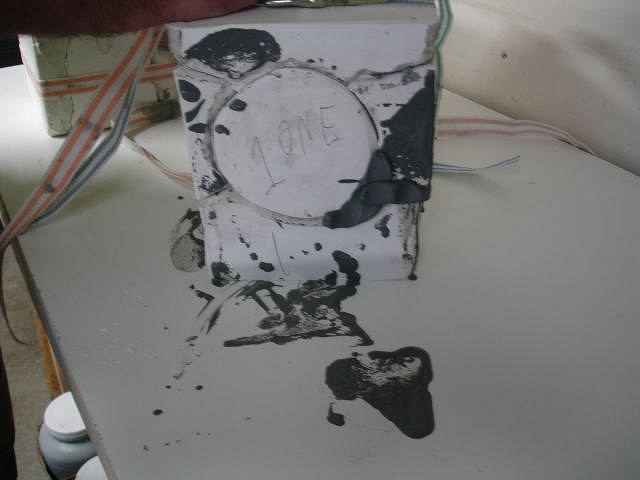
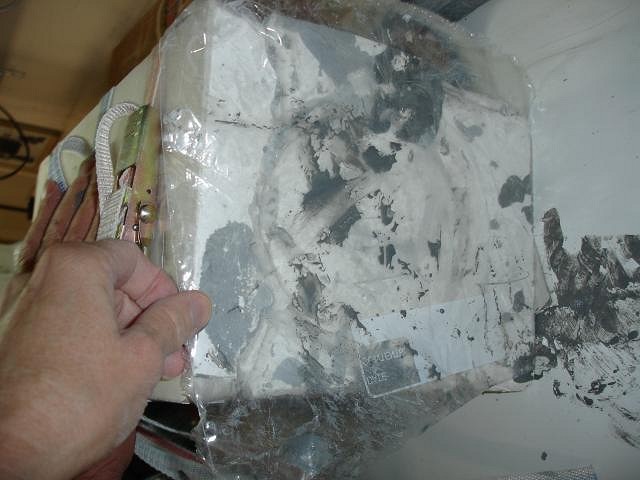
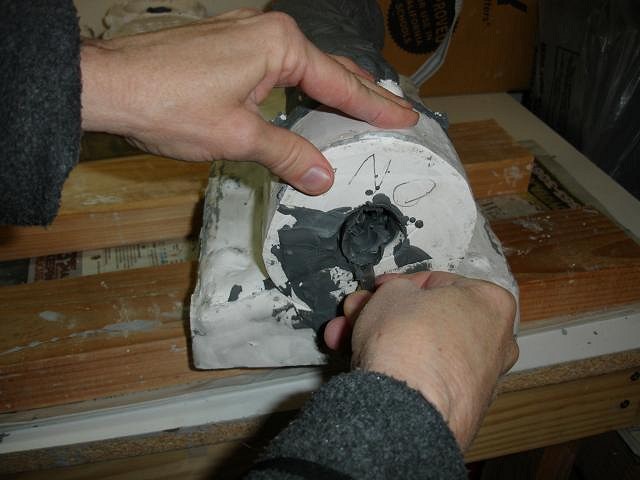
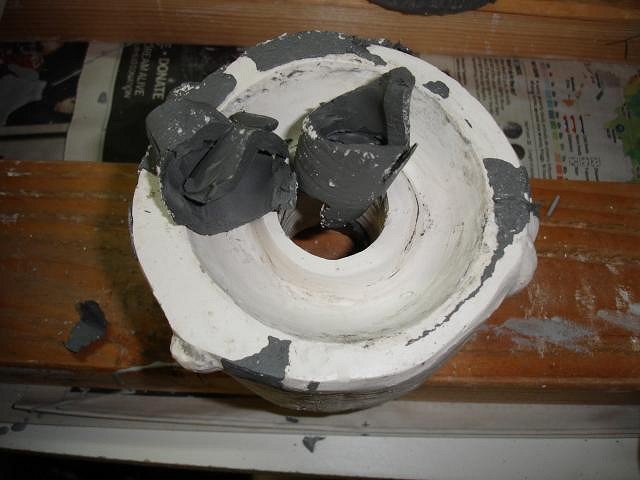
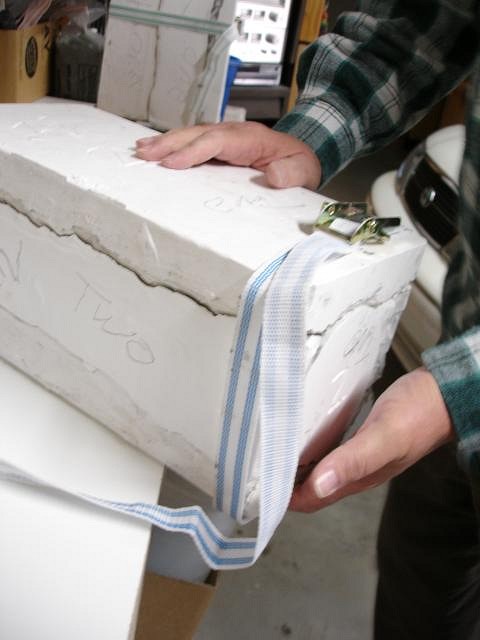
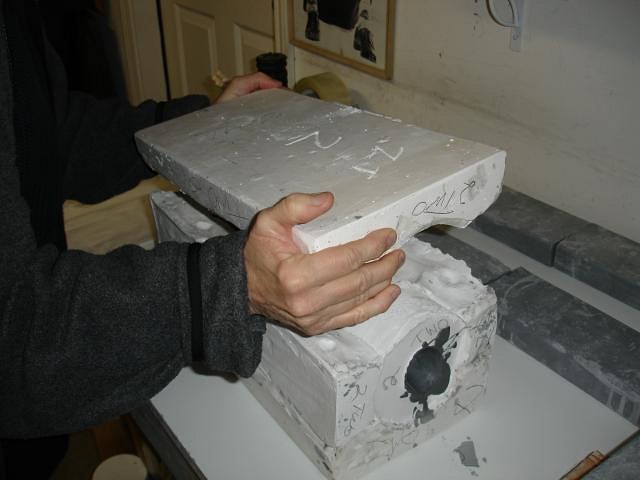
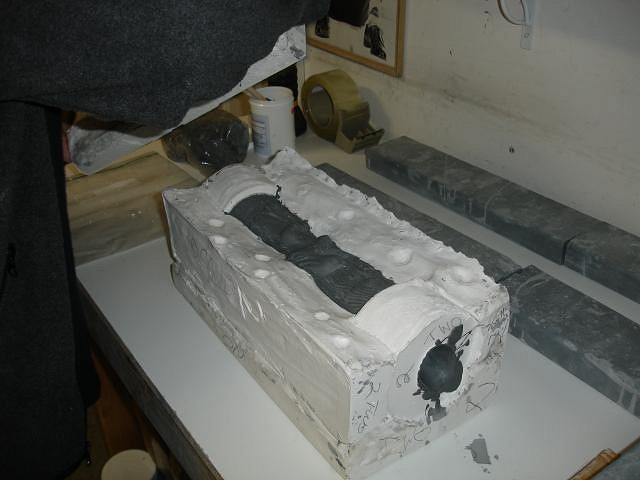
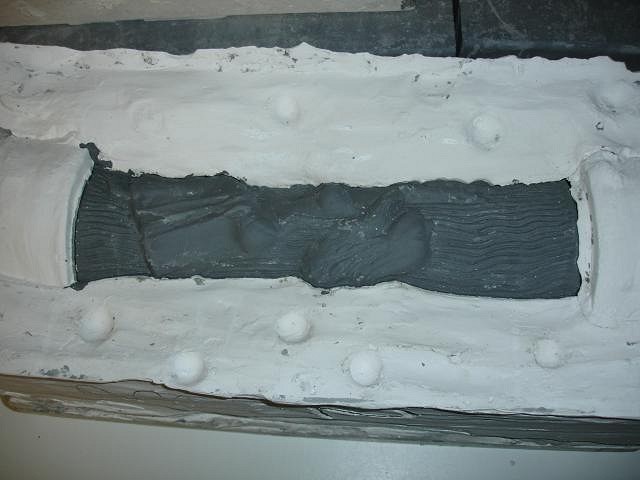
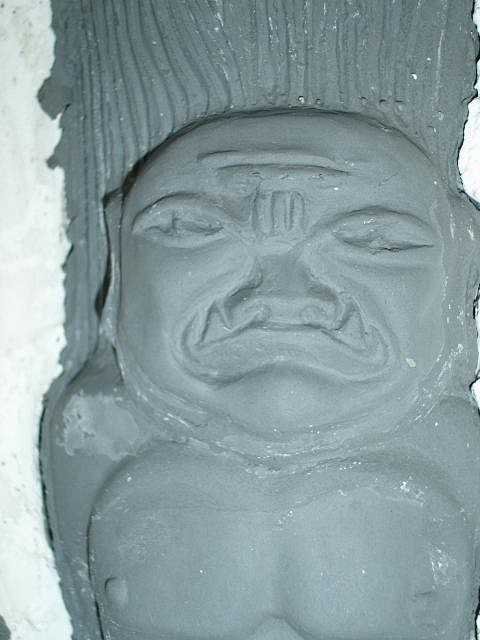
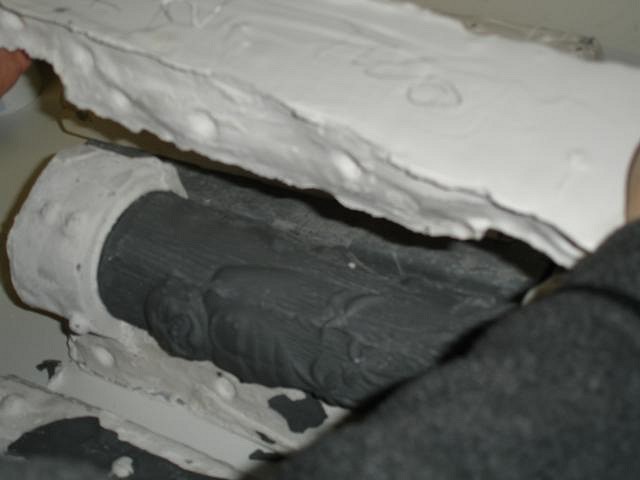
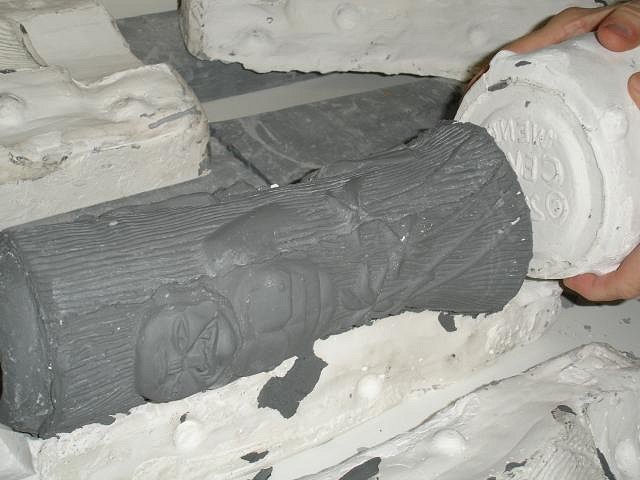
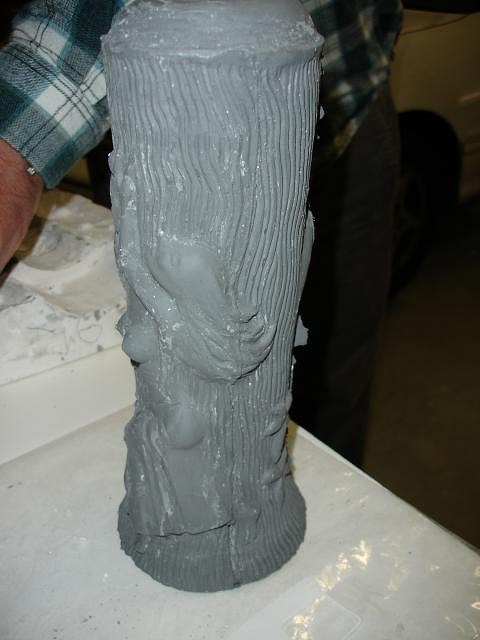
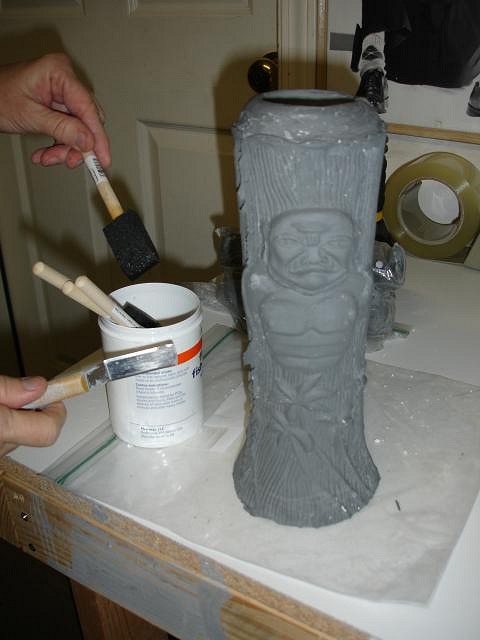
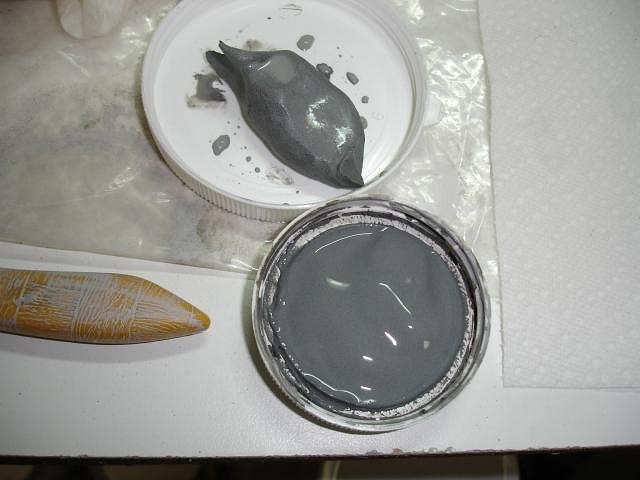
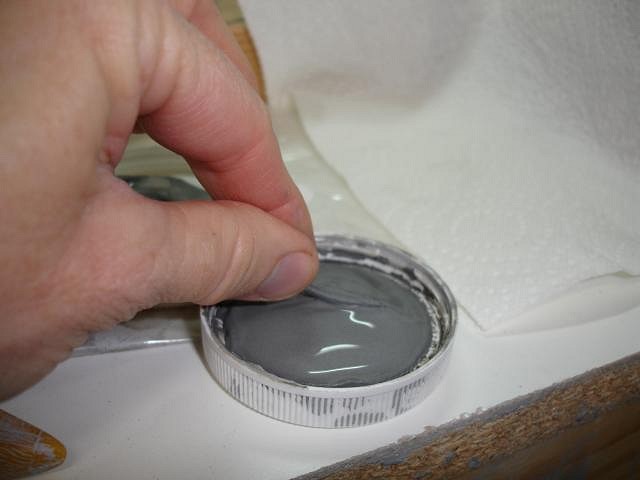
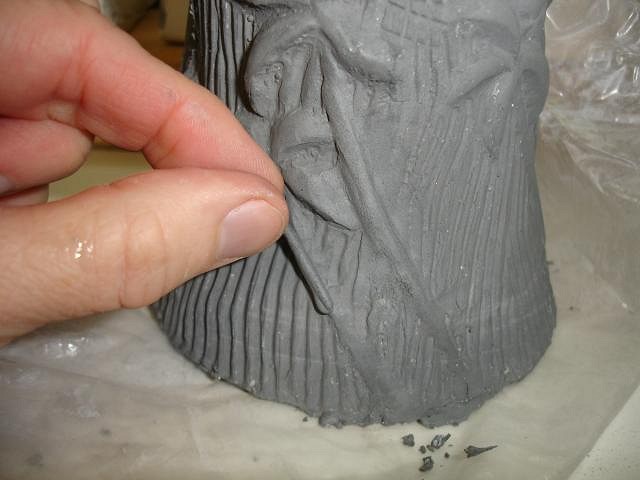
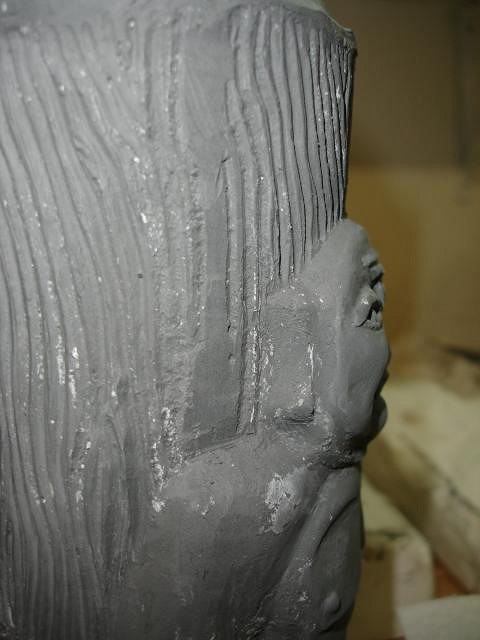
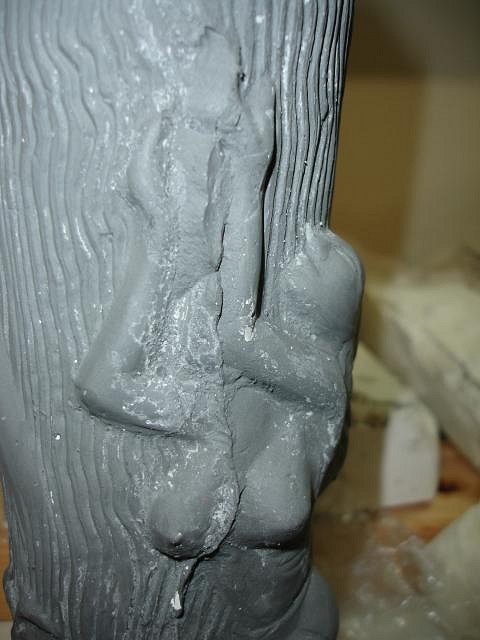
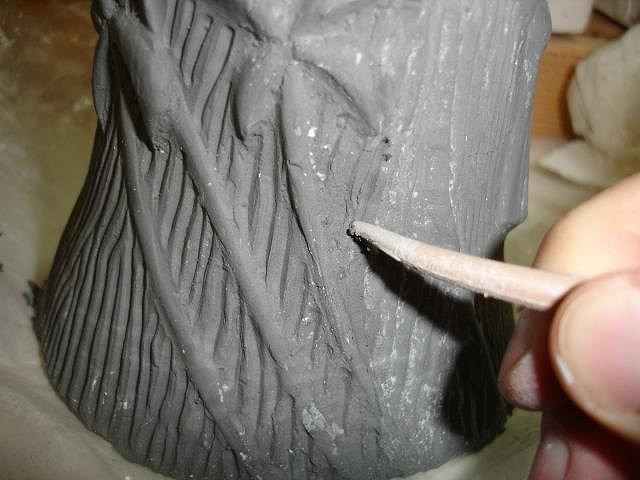
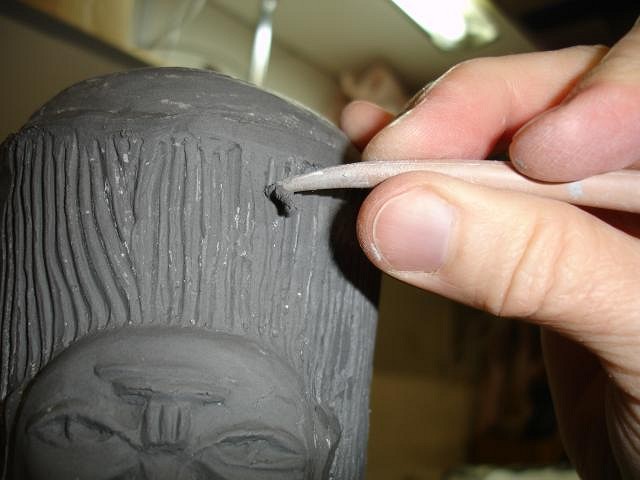
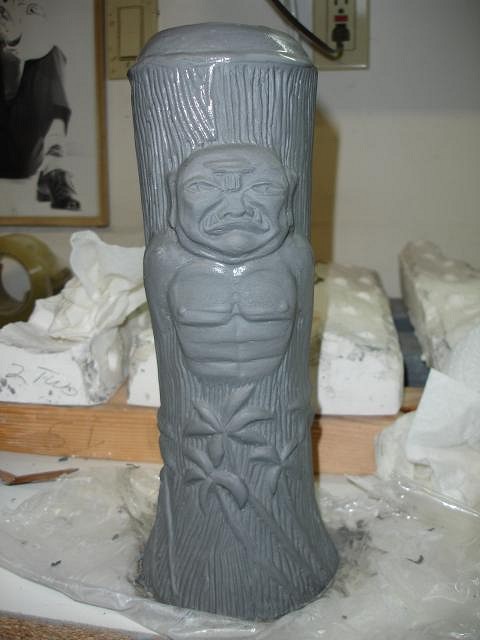
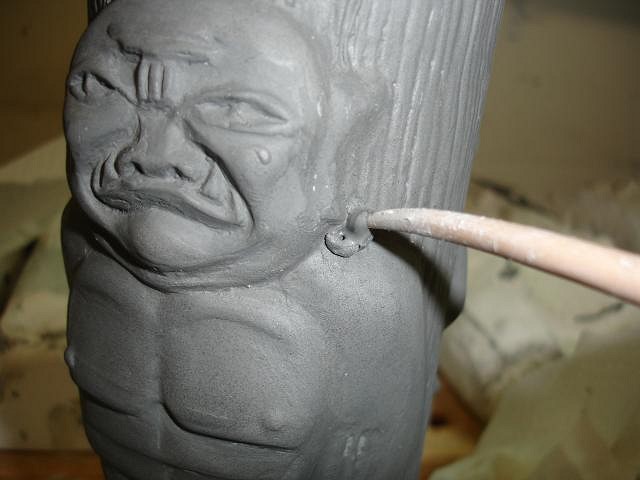
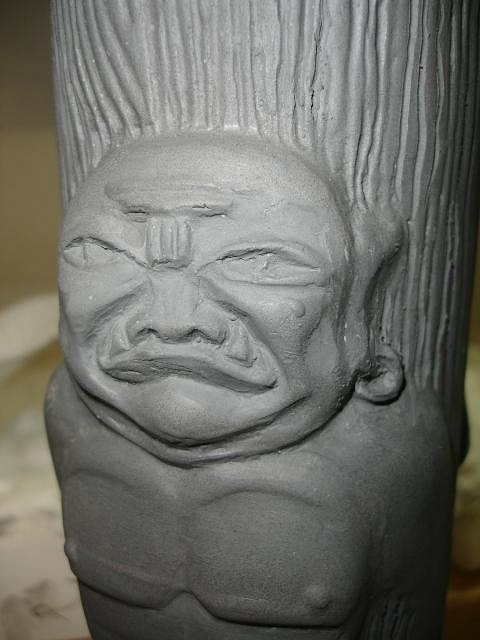
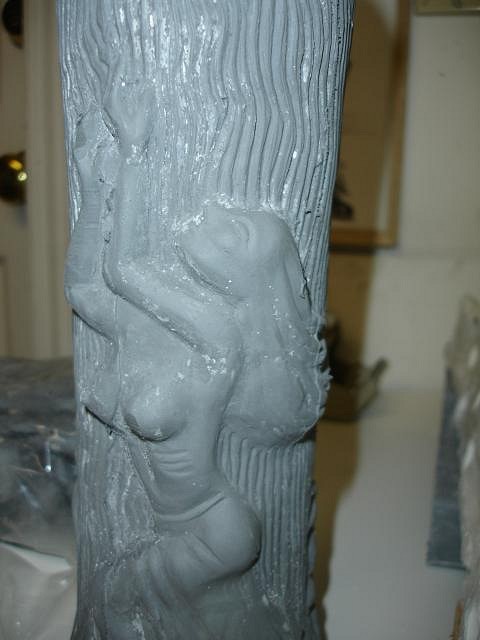
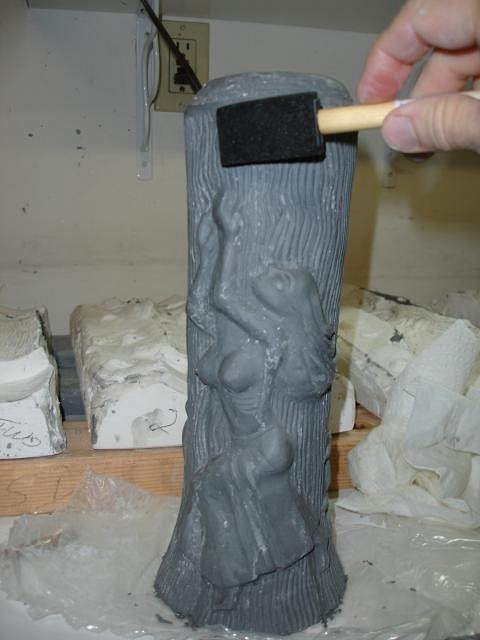
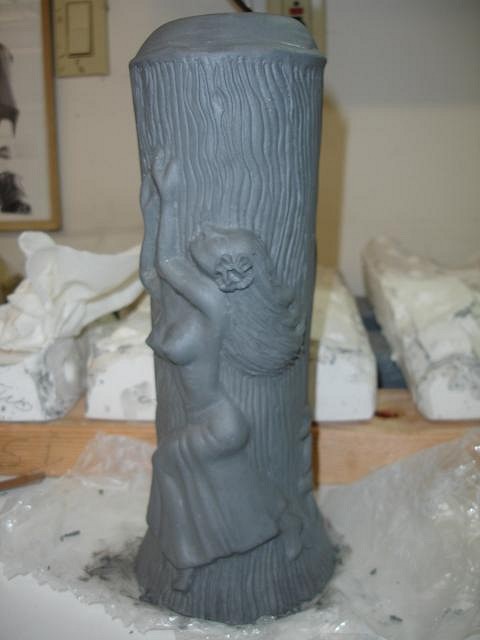
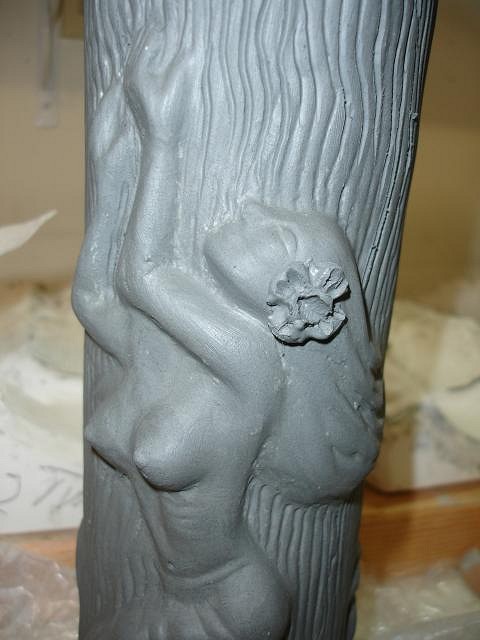
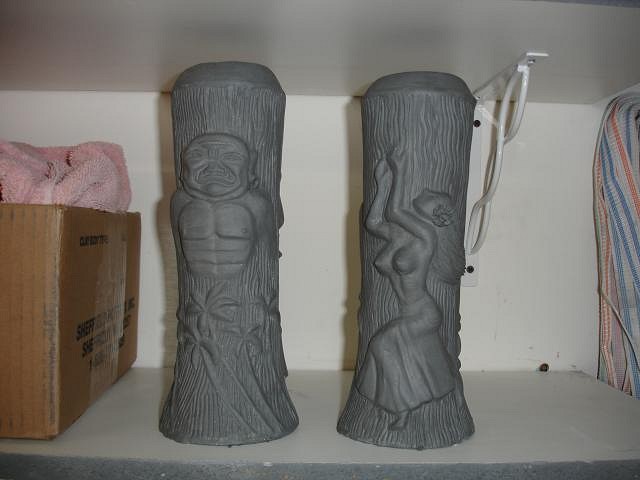
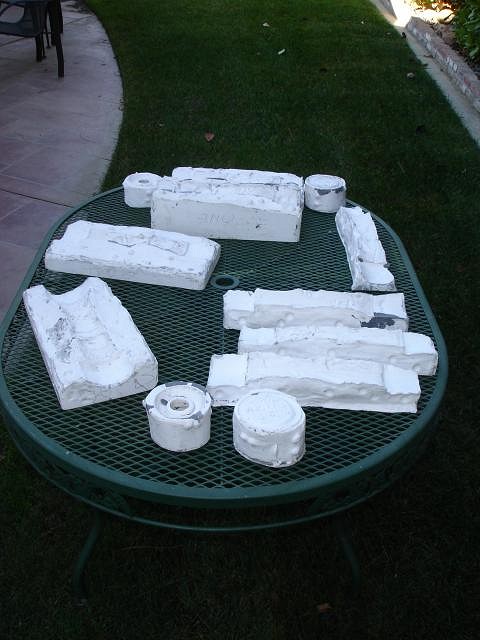
Wow, I better get to it, like NOW!!! First I just wanted to show the size difference between the Bumatay centerpiece and the seahorse. All the shells and sea-life will be small so that there will be room for the chunks too. Yesterday I said after you plug a leak with clay put a piece of plastic over it before you turn you mold upright. Otherwise the clay will pull out if you slide or lift the mold. This is what I meant as shown in the photos. Did the molds work? YES! I have around 1 hour of clean up and specials additions for each mug before I can let them dry. I hope I showed most of the steps here. One I left out was showing how I removed clay from the opening before removing the top mold piece. If not done correctly the top will be messed up. Cut it out. Clean out the mold. The top looks like this. The flame sits here. For those of us with small muscles slide the mold out to remove the straps. The rest is shown in photos. The mold is opened and all the clean up begins. I also had to add an earring, flower etc to each.
Shows some leakage, no problem.
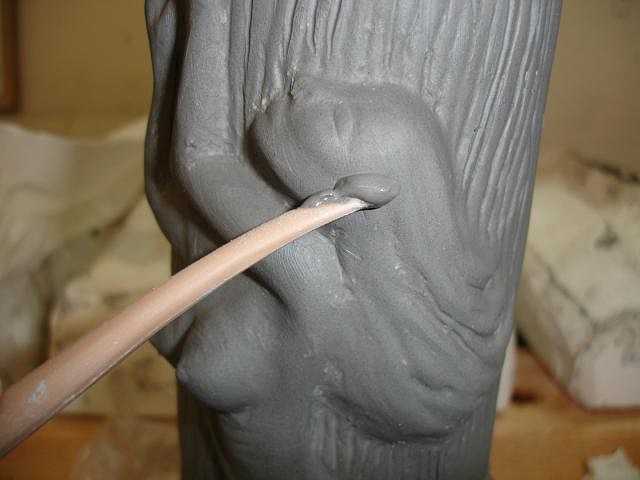
Add slip under any clay addition to keep out air bubbles.
She required a flower, hands and arm sculpting. A bellybutton and better nipples! Two down a lot more to be done. Molds set out to dry for the rest of the day. Before nightfall they will come back in the garage and have a fan blow on them until the next pour. When the cast is dry there is more fine tuning to areas like her nose and his eyes. They is a lot of sanding to do. I'll have photos of every step of the way. How did we do??? Wendy and Dan [ Edited by: danlovestikis 2012-01-15 14:02 ] |