Tiki Central / Other Crafts
Slab Rolled Cup Forming/ Cylinders
Pages: 1 8 replies
|
T

TikiAno
Posted
posted
on
Mon, Oct 22, 2012 4:56 PM
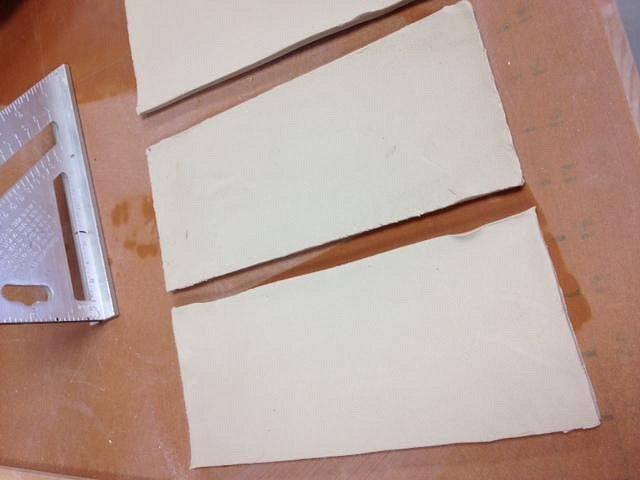
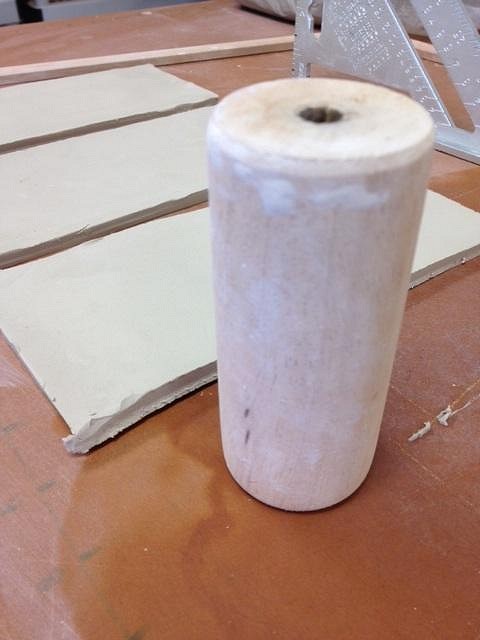
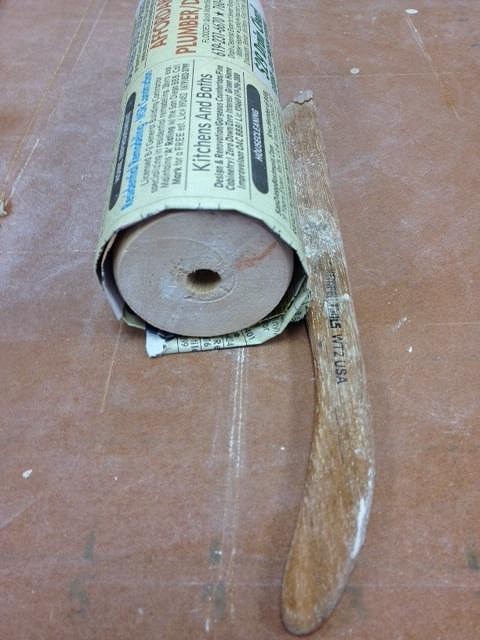
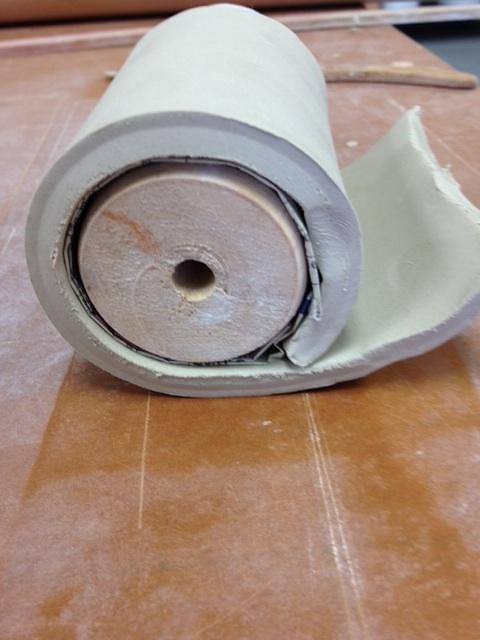
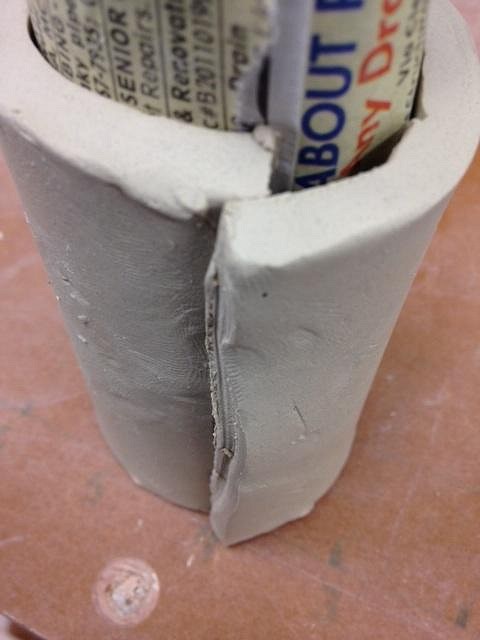
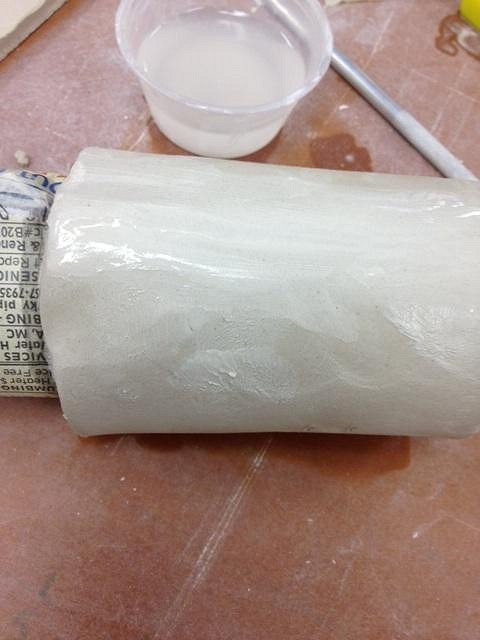
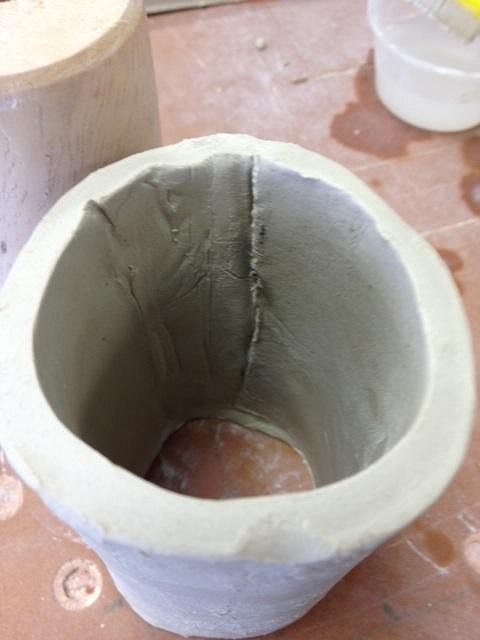
I recently started up a post that mentioned slab rolling cups (or cylinders). As I worked on four columns for a bowl I'm working on, decided to take some photos for a step by step. I look forward to any other feedback/info on this. Slab Rolled Cylinder-Making:
That's about it. I look forward to any feedback, etc. Since I'm not great throwing on the wheel, and don't own a clay extruder (which is a very fun and easy way to form cylinders (with the right die)), slab rolled cylinders can be a good option. Hope this helps! |
|
V

VanTiki
Posted
posted
on
Mon, Oct 22, 2012 5:59 PM
Great photos! That's just about how I do it in my studio too (although I only use an inner from for larger mugs/pieces). I also don't use a wheel to make forms. I do have an extruder - but I often find it is easier to hand-build cylinders than to load, press, and clean an extruder :) Henrik "VanTiki" |
|
T
TikiAno
Posted
posted
on
Mon, Oct 22, 2012 11:09 PM
Thanks, Henrik! Your work- (& hand building videos) have definitely inspired me. I never had much luck getting "proper" cylinders without an inner form, maybe just need more experience in trying to make them. I recently discovered extruders, which has gotten my brain working in all kinds of new directions- though, yes, they are no fun to clean. :) Look forward to hearing/seeing more about your shelf building class this weekend, too. |
|
D

danlovestikis
Posted
posted
on
Tue, Oct 23, 2012 7:37 AM
TikiAno I really enjoyed your step by step photos including the oops...I've said that plenty. I'm looking forward to where you take this. Wendy |
|
M

MadDogMike
Posted
posted
on
Tue, Oct 23, 2012 11:32 AM
Looks like a purty white clay, Coleman porcelain? |
|
M

MahaloTiki
Posted
posted
on
Wed, Oct 24, 2012 3:35 PM
Great info.... Thanks for posting. |
|
T
TikiAno
Posted
posted
on
Wed, Oct 24, 2012 6:55 PM
MDM, it's Laguna B-Mix. Pretty soft stuff, but yes, pretty white, but a little more hearty than porcelain (though I admit, I've yet to work w/ any porcelain). :) MahaloTiki, glad you enjoyed. |
|
T
TikiAno
Posted
posted
on
Sun, Oct 28, 2012 5:59 AM
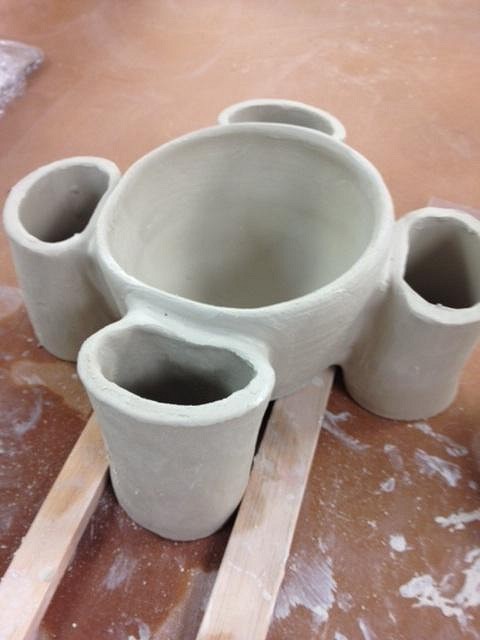
Update on piece: four hand rolled cylinders attached to (slightly off-centered bowl), score and slip attached. I squooshed the columns so there'd be better surface contact area with the bowl- as well as reducing the overall size/width of the piece. Reinforced all contact areas with extra clay and slip. Wood pieces lift bowl off table as it adheres to the columns supporting it. Letting it firm up a bit, then plan on adding features to columns and bowl. Would love to hear any feedback. Thanks! |
|
T
TikiAno
Posted
posted
on
Thu, Nov 8, 2012 4:31 PM
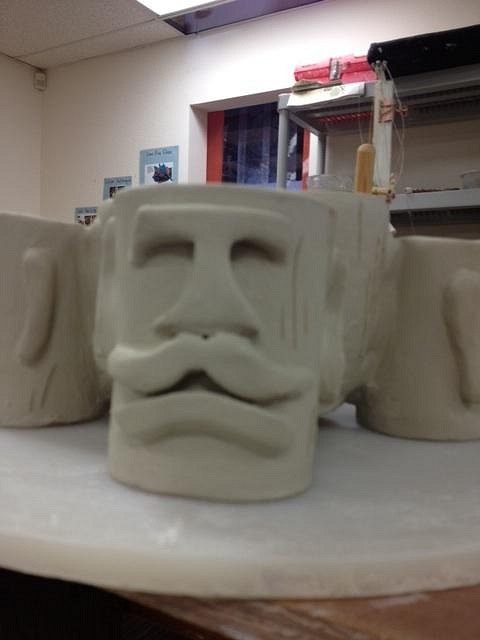
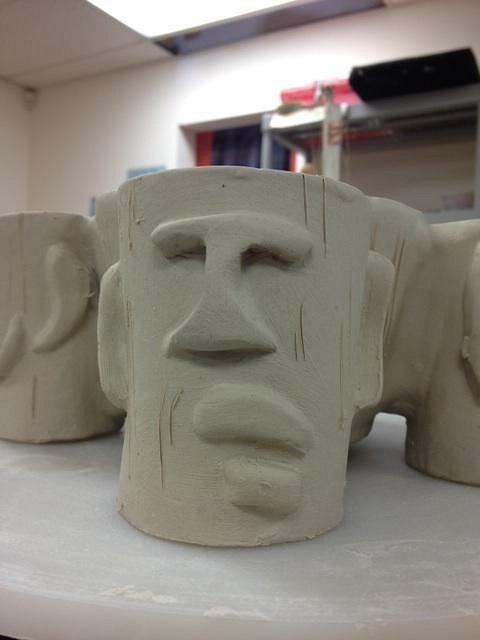
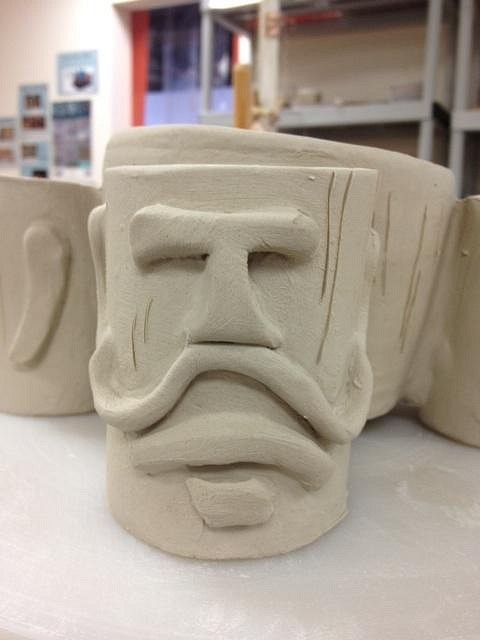
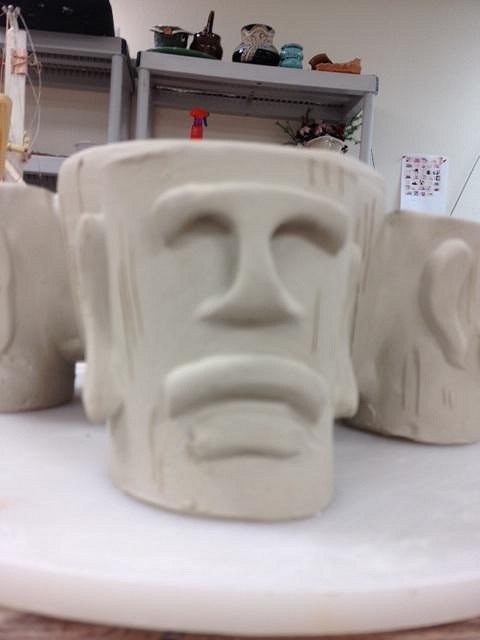
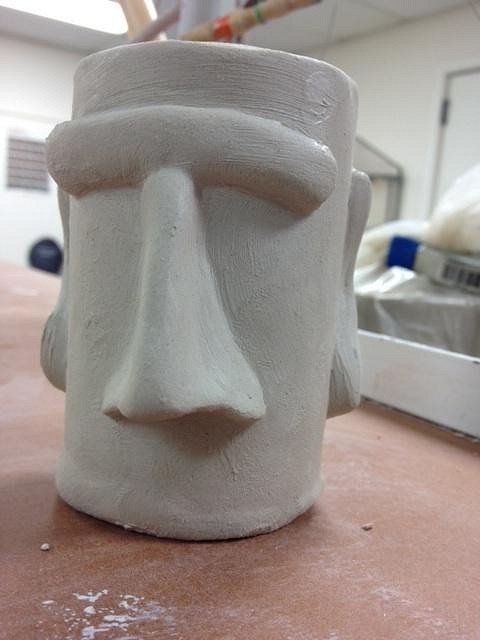
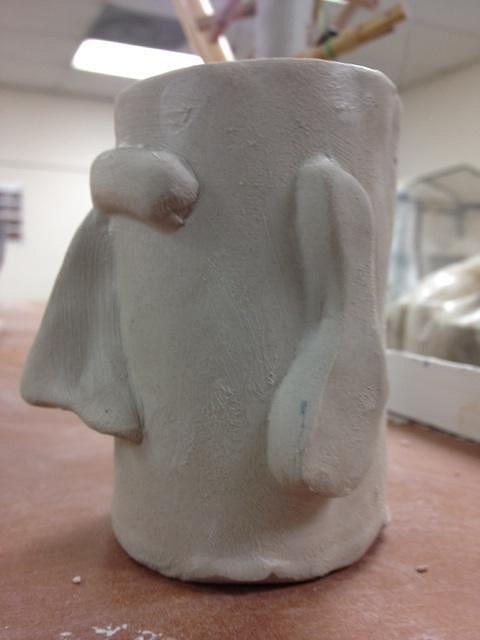
Finally more updates on the bowl. Added facial features and "wood-grained" each post. Instead of having each match, decided to make each one unique- and, of course, two of them have 'staches. I had a few extra cylinders that I had formed (pretty short ones), so decided to "Half Moai" them. I went with larger noses this time, too. A few pics:
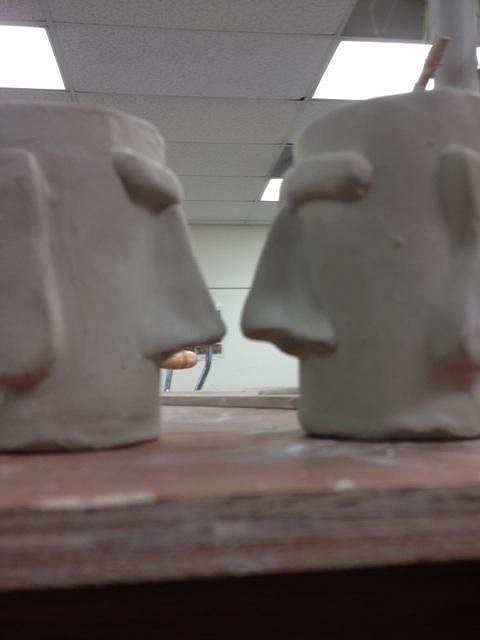
Putting two side by side looked pretty funny: "Moais in Love." Maybe the next time I'll form the noses to form a heart outline when placed this way? As always, would love any feedback. |

Pages: 1 8 replies