Tiki Central / Tiki Drinks and Food / How To Make Rock Candy Syrup
Post #332928 by The Gnomon on Mon, Sep 17, 2007 7:54 AM
|
TG

The Gnomon
Posted
posted
on
Mon, Sep 17, 2007 7:54 AM
This thread started in one devoted to Orgeat, so I have copied it here and have added some text and pics (using my cell phone—sorry for the lack of quality).
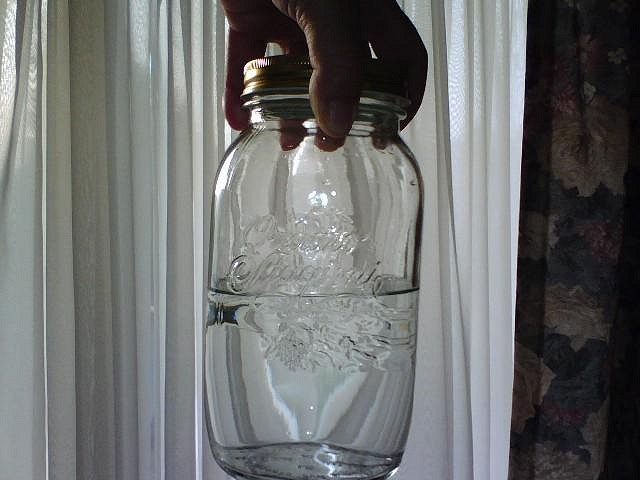
Yes indeedy. It just about the easiest thing in the world to make and it's kinda fun. It's fun because it's easy and because you're jamming more sugar into a single space than "belongs" in that space, so it becomes unstable. Next time I do up a batch I'll try to take some pictures to dump back in here. Especially considering the length of this post, it probably should be relocated to a rock candy syrup thread. But since you asked me here... First, I guess I should start by distinguishing rock candy syrup from simple syrup. Simple Syrup vs Rock Candy Syrup Simple syrup is similar to rock candy syrup, being made from exactly the same thing as each other, sugar and water. Simple syrup is water saturated with sugar. Rock candy syrup is water supersaturated with sugar. The solution is saturated when under normal atmospheric conditions (i.e., room temperature) you can't dissolve any more sugar into the water. If you put another granule of sugar in and stir it around for a long time it doesn't dissolve. There is no room left in the water for any more sugar. It's saturated. Supersaturation is putting more sugar into the water anyway. When you force more sugar into water that is already saturated, it becomes supersaturated. The more supersaturated it becomes the more unstable it becomes. Instability here means that the "extra" sugar that has been forced into the solution "wants" to get out of the solution and it gets what it wants. How quickly and to what degree depends on how unstable it is. The stuff that falls out is called precipitate, just as rain is the precipitate when the atmosphere is supersaturated with water molecules. When highly unstable sugar water "rains" the precipitate is rock candy, hence, rock candy syrup. When you start the process you will be making simple syrup, but before long you'll cross the line into supersaturation and will be making rock candy syrup. A volume of kick-ass rock candy syrup is noticeably heavier than the same volume of simple syrup because sugar is heavy and there is a ton more sugar in the rock candy syrup. Least Messy Method of Making Rock Candy Syrup I keep my main batches of RC syrup in big Quattro Stagioni canning jars like the one on the far left. I decant from the big jars into a small bottle for mixological purposes.
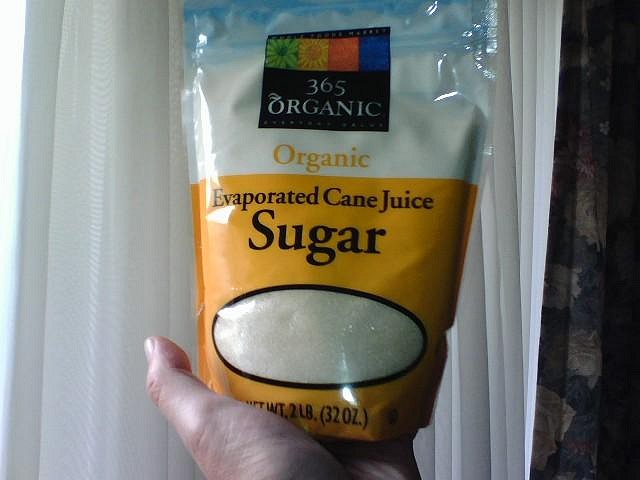
The reason for storing it in jars like this is they are canning jars, which means they are designed to take the heat of pasturization (like when making preserves, etc.) So...you can make the syrup right in these jars. That makes this the least messy method I know. I used to make the syrup in a big pot, allow it to cool overnight, transfer the syrup into these big jars (pouring through a big funnel), and then wash the pot and funnel. This can turn into a big mess. Because my batches tend to be ultra unstable, often enough I'll have to dilute my syrup to avoid a blizzard of rock candy from occurring. It's nice to look at, and it's what you want IF your intention is to make rock candy, but within a matter of a few days you can end up with a brick of rock candy the exact shape as the inside of the jar. Anyway, to dilute my batch, I'd remove some of the syrup, replace that with more water and, knowing it was a canning jar, I'd just leave it in the jar and heat the the whole thing up in a pot of boiling water as I stirred the solution in the jar. That's when I realized the thing should be done from the very beginng right in the jar the whole time. Rock Candy If you make a solution that is unstable enough to precipitate like crazy, you can make rock candy by suspending a string (or just about anything really) down into the syrup and let it sit there for a few days. The more unstable the solution the faster the rock candy will form. I'm living in temporary digs right now, so most of my stuff is in storage. Consequently, I don't make any of my fancy garnishes. One of the techniques I use in some of my garnishes is to make rock candy on the submersible end of my bamboo swizzle sticks. But 99% maybe of the RC syrup I make is for mixing into drinks. Water Use the best water available, which usually means the purest, but it could mean a spring water you like that, technically, might not be as pure as some other water you could get. You just don't want unfiltered tap water or any water that has other stuff dissolved in it. You want this to be as close to pure sugar water as you can get. Sugar Any sugar can be used to make rock candy syrup, but I prefer to use very high quality sugar that is minimally processed, so my syrup is really dark. You can still use it in light colored drinks without making the drink dark. For the batch in these pics, I decided to give Whole Foods 365 Organic Evaporated Cane Juice Sugar a try. It's cheaper than the Florida Crystals I've used for the previous several batches.
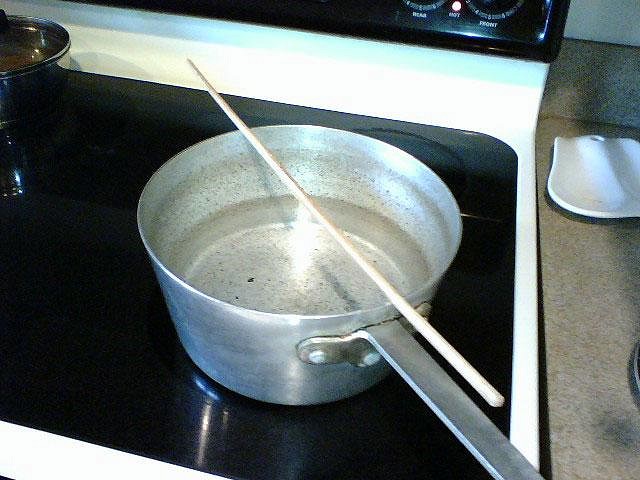
Other Equipment You'll need a big pot and a stirring stick. I use a Chinese bamboo cooking tong (giant chopstick). This is better than a spoon of any kind, but a wooden spoon is OK if that's all you've got. Have a cup, glass, or other vessle standing by.
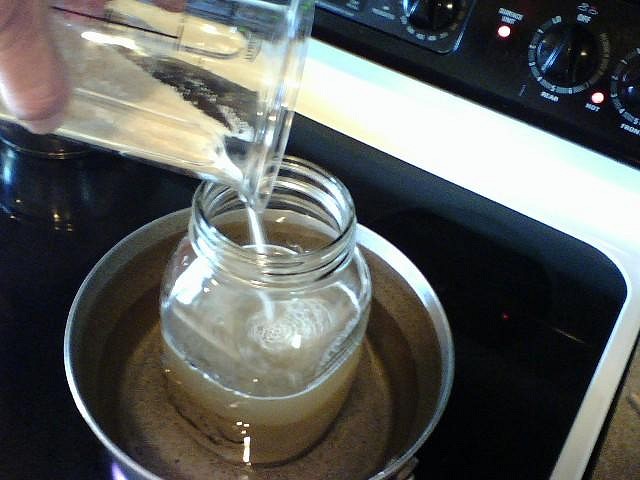
Essential Prep Inasmuch as you'll be hanging out in the kitchen stirring your syrup more or less continuously for an hour, it is advisable that you make yourself a 15 oz Mai Tai (or other concoction) while you wait for the big pot of water to come to a boil. The Setup
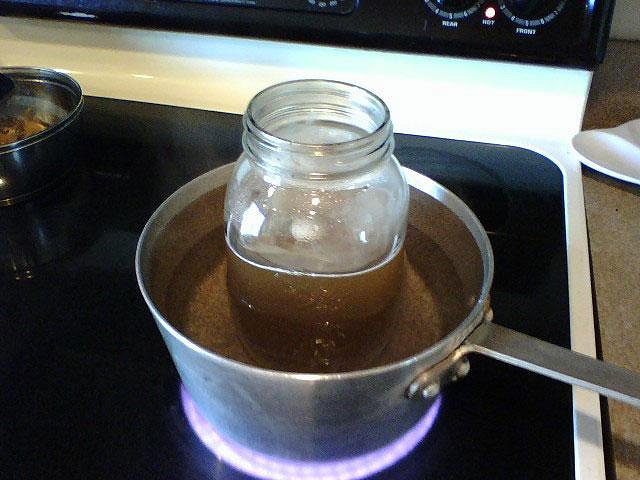
Fill your canning jar about halfway with spring/filtered water. Stir in sugar until the level of the mixture reaches about three quarters full. Don't worry about dissolving the sugar yet, you just want to add some weight to the water before putting it into the big pot. Fill the big pot about three quarters full of hot tap water and put it on the big front burner of your stove. Then set the canning jar with the beginnings of your syrup down into the center of the big pot of tap water. Use the cup, glass, or other vessel you have standing by to add hot tap water to the big pot until the water level is about a half inch from the top. Your jar with the sugar and water mixture should be sticking up (probably 3 – 5 inches) out of the hot tap water. Turn the burner on High and go make your drink while this comes to a boil.
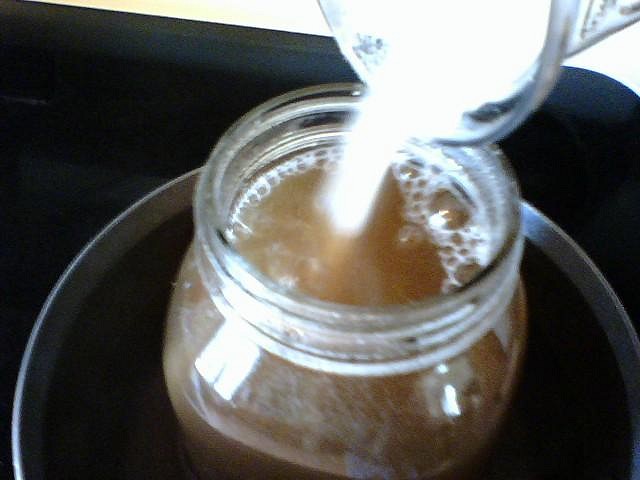
NOTE: For this batch, since my big pot wasn't that big, I didn't need to add any sugar for weight ahead of time. If the water level outside the jar is significantly higher than the level inside, you'll have to add the sugar for weight first. While the water is heating up I stir in about a pound of sugar to get things started. It will dissolve long before your water comes to a boil. Essence of the Procedure The way to force enough sugar into water to supersaturate it is to add the sugar under heat. To dissolve it as fast as possible and to avoid burning any of the sugar it is necessary to keep the solution moving, which means stirring pretty much continuously until it's done. By stirring it in the jar sitting in boiling water, it is heated from not only the bottom, but from the sides as well, which makes it easier to force more sugar into the solution. You just keep stirring in more and more sugar (about a cup at a time) until the solution reaches the top of the jar. There is a limit to the amount of additional sugar you can force into the solution. When that limit is reached, any sugar you put in will fail to dissolve and just fall to the bottom of the jar no matter how much you stir it. The only way to dissolve that sugar in that same amount of water is to add more heat, which you would not be able to do on your stove top. If you do not put enough water in the jar to start with (e.g., only one quarter full instead of half) then you would probably reach a point where you could not dissolve more sugar before you brought the level up to the top of the jar.
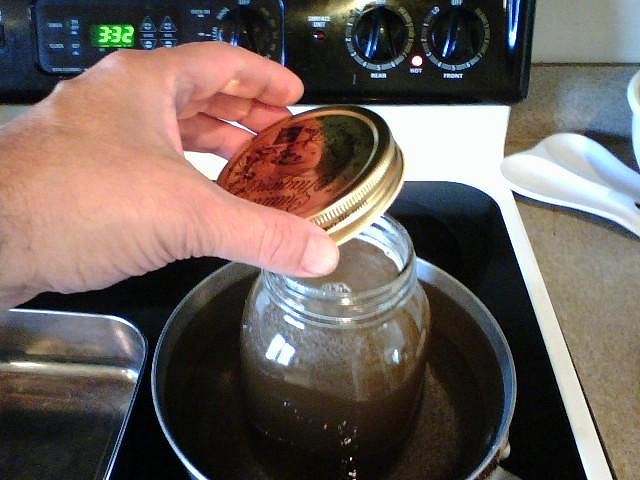
NOTE: This batch uses a jar half full of water, which makes the syrup moderately stable, which probably suits most peoples' needs. I usually use one third full, which makes for a very unstable batch 'cause you can cram another pound or so of sugar into the solution. I needed syrup right away, so I decanted some from this batch, leaving room in the jar for more sugar. I will go back later and heat the syrup back up and stir in more sugar until it becomes quite unruly. Working the Burner Control The more sugar that is in the solution the higher it's boiling point. I guess at some point it just explodes :) but your stove won't be able to get it hot enough for you to find out. You want to keep the big pot as full of tap water as possible so that the jar is as immersed in boiling water as possible. If you boil the water fast it will be splashing all over your stove since the pot will be so full. Therefore, you want to put it on simmer once you have reached the initial boil, but you want to gradually increase the heat as you add more sugar. When you add sugar it draws the heat from the boiling water, so you need to turn it up slightly just to maintain a simmer. The more sugar that is in the solution, the more heat that must be applied to the boiling water to maintain a simmer. Eventually, the syrup solution will be really hot and supersaturated to a point where sugar does not dissolve so easily. When you add sugar to the swirling liquid it spirals around and looks a little like a rope. You'll see. When you get to that stage, your syrup is more or less ready. If you keep adding more anyway (because you can), you might end up with something that is more unstable than you want. Unless you don't mind heating it all up again later to dilute it, resist the urge to go overboard. Finishing Touches Once you finished stirring in sugar, you have to let the whole thing cool. Take the jar lid and screw it onto the hot jar momentarily. Lift the jar out of the scalding water and set it on a wooden cutting board or a trivet to cool overnight. I use my bare hand to lift it out. The jar lid doesn't heat up fast enough for me to need a hot pad or anything. Now unscrew the lid so that it is very loose. Another virtue of doing all of this in the canning jar is that the jar lid serves as a tool to lift it out of the heat and as a loose cover to allow heat to escape while protecting it from any ants, fruitflies, or other sugar-loving vermin that might be hiding and also waiting for your syrup to cool.
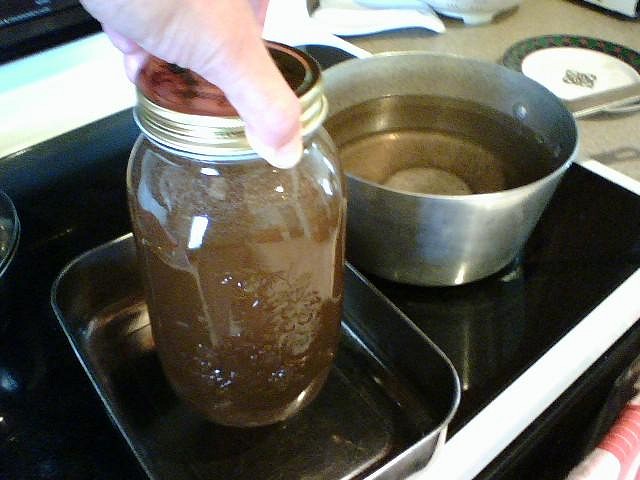
Let it sit out over night and in the morning screw the cap on tight. Voilá! If you make an incredibly unstable batch, the next day you should see the syrup taking on a marbling effect of rapidly forming rock candy crystals. That will tell you that you've overdone it and can expect to have to fix it soon. If it is moderately unstable, there will be time for gravity to kick in as the crystals form, so over the course of 1 – 3 days you'll just see a sedimentary layer of rock candy crystals forming at the bottom of the jar. That's what you want if you're using the syrup for drinks. Later, when your jar is empty, just make a new batch leaving the rock candy at the bottom. It will dissolve in the process of making the next batch. When you heat the jar in a pot, unless your tap water is exceptionally pure, the minerals in the water will stick to the pot.
The underside of the jar is slightly concave, so in the boiling process water is forced out and that space is occupied by mainly very hot water vapor, which doesn't deposit minerals like it does in the water. You can see the effect in the pic. It takes a little elbow grease and an SOS pad to remove the minerals, so make sure you use a pot that can stand such abuse. [ Edited by: The Gnomon 2007-09-17 08:05 ] |